
In the flashback sequence, we begin with the back of Nick's car driving away in the city street, which transitions into Frank's car in the suburbs. I basically set up two shots where all the animations are exactly the same, but one with Nick’s DeLorean as the main car in the city, and one with Frank’s car in the suburbs. Then, I faded in from the shot with Nick to the shot with Frank. The way I wanted to use a smooth camera movement around the car to transition from Nick's car to Frank's car was definitely going to require some 3D action.
The only problem was, I’m not a 3D artist. Frankly, I’m not even “decent” in any 3D software - I feel like a tourist who gets by knowing how to say one or two phrases in a foreign country. I also felt like going fully 3D in only this sequence could feel like a jarring departure from the rest of the film if not executed carefully. Here I breakdown each shot to merge the 2D aesthetics with 3D techniques.
PT.01 | NICK'S CAR IN THE CITY
If I had more time to making a meticulous 3D model of the city buildings, perhaps I would’ve. But the shot was too short and not significant enough for me to invest a couple of days in developing a full 3D model of the city street. Instead, I set up two planes in my scene and made warped drawings that could best accommodate the shift in perspective as the camera moves.
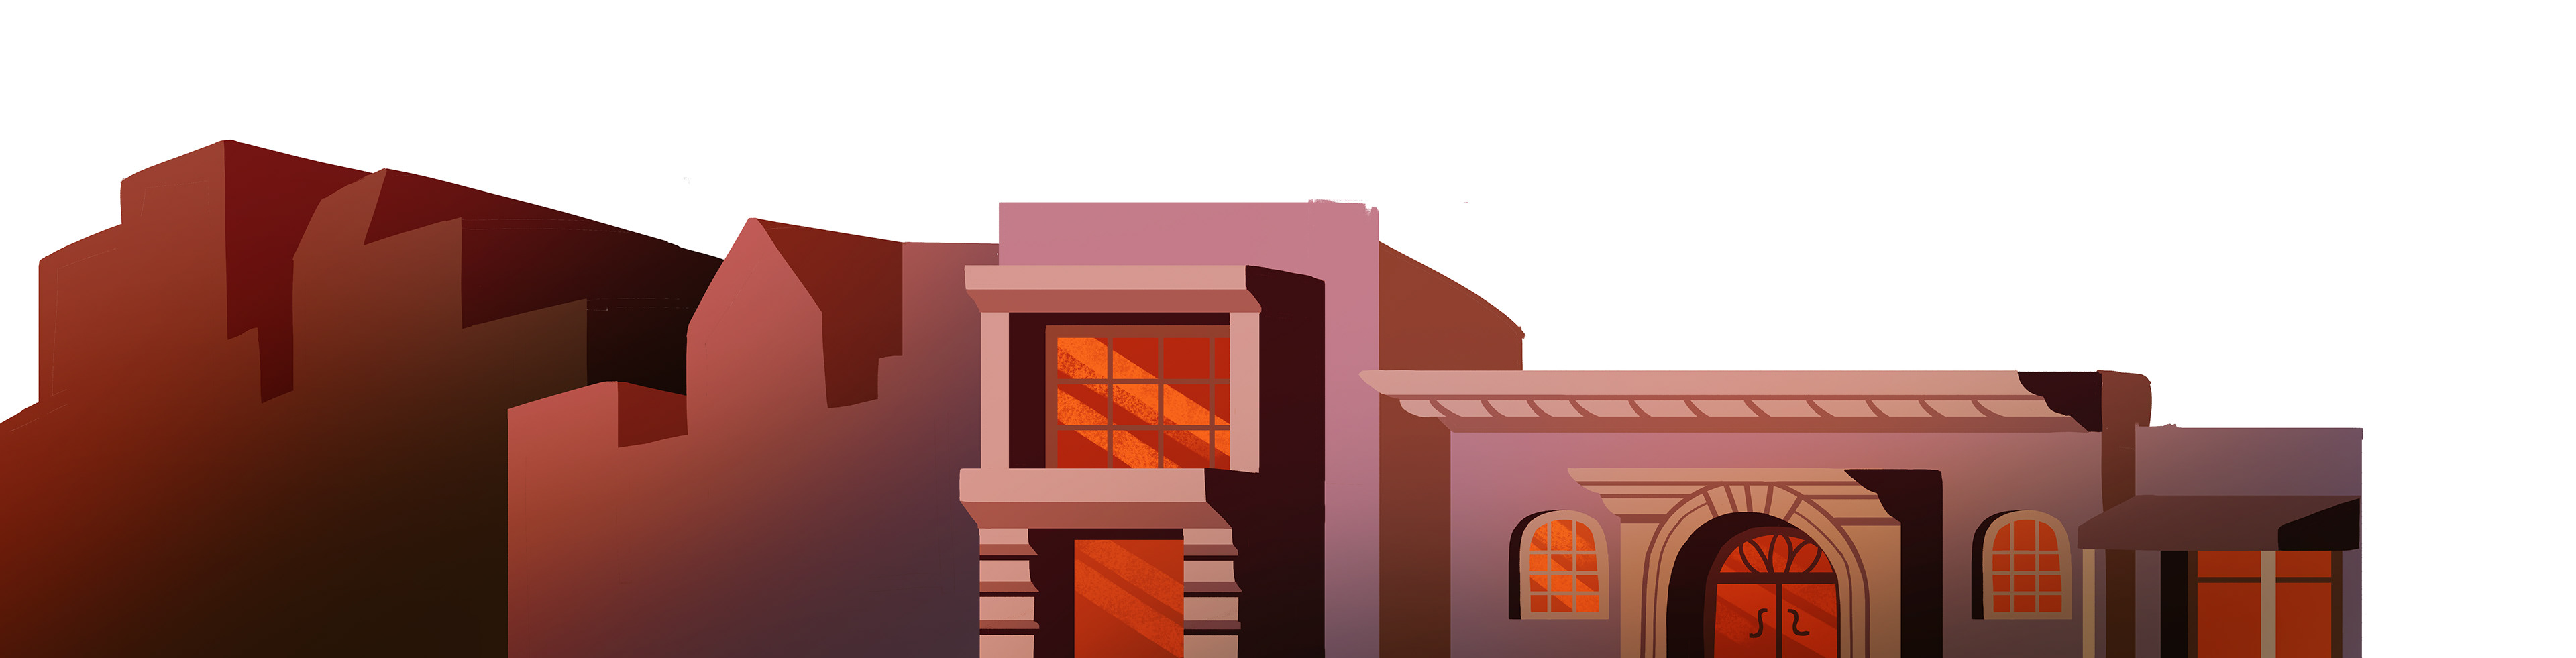
Then, I rotoscoped the details of the DeLorean in Photoshop to give the 3D model a touch of imperfections native to 2D. The difference is obscenely nominal, and yet the abstracted details and the jittery lines in the rotoscope blends the crisp 3D shape with the rest of the 2D textures.

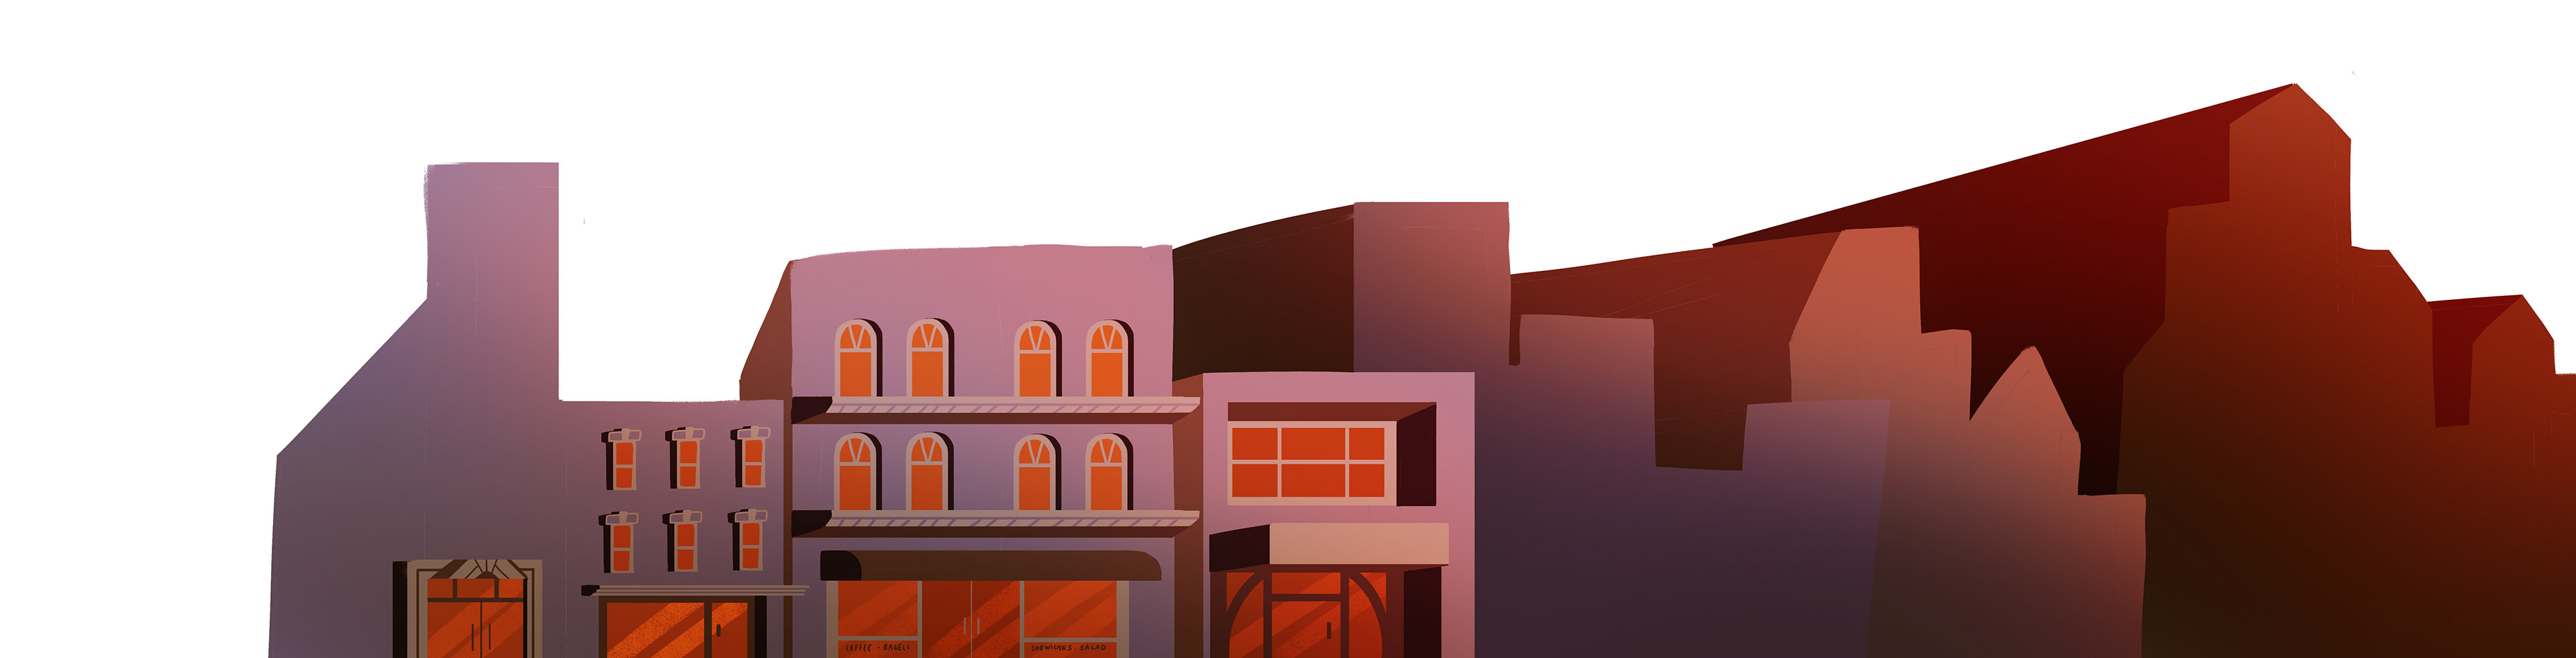
PT.02 | FRANK's car IN THE SUBURBS
The big caveat for the shot with Frank's car in the suburbs was that I wanted to eventually give the shot and the following sequence a riso treatment. Only, my experience with riso animation before this was for a sequence that was 21 frames long. Given the sequence in my film was going to be 10~15 seconds total, I realized it would be a lot of frames to print out. And then I wondered if there was a better, more efficient workflow or a workaround to accommodate longer sequences. I reached out to the expert Hiromu Oka himself, whose mind-blowing "Hodo Station 2021" introduced me to riso animation to begin with.
I asked him about his process, hoping he’d give me some sort of secret shortcut way to bang out a riso animation of that complexity and craftmanship. His answer was a firm, yet gentle no. It was just months of dedicated labor. (He talks about this process in this "It's Nice That" article - check it out!)
Ah, of course.
S E T T I N G U P F O R R I S O
Printing riso in the physical world is equivalent to rendering in the digital world. With that, the majority of the time making this sequence into a riso animation was spent actually just completing the shot digitally - setting up and texturing the 3D scene and compositing it with all my 2D elements. I didn't even get to the printing part until after I submitted my film for school. I talk about the actual printing process later in THIS PAGE.
In contrast to Nick’s DeLorean-inspired sports car, I wanted Frank to have a family car with a classic mid-century silhouette. The idea of having a family car leave Nick could also be a metaphorical detail only perhaps I would ever know, but was still important to me in significance. With that, after consulting one of my close friends who is also well-versed in vintage cars, I landed on the Ford Falcon as Frank’s car.
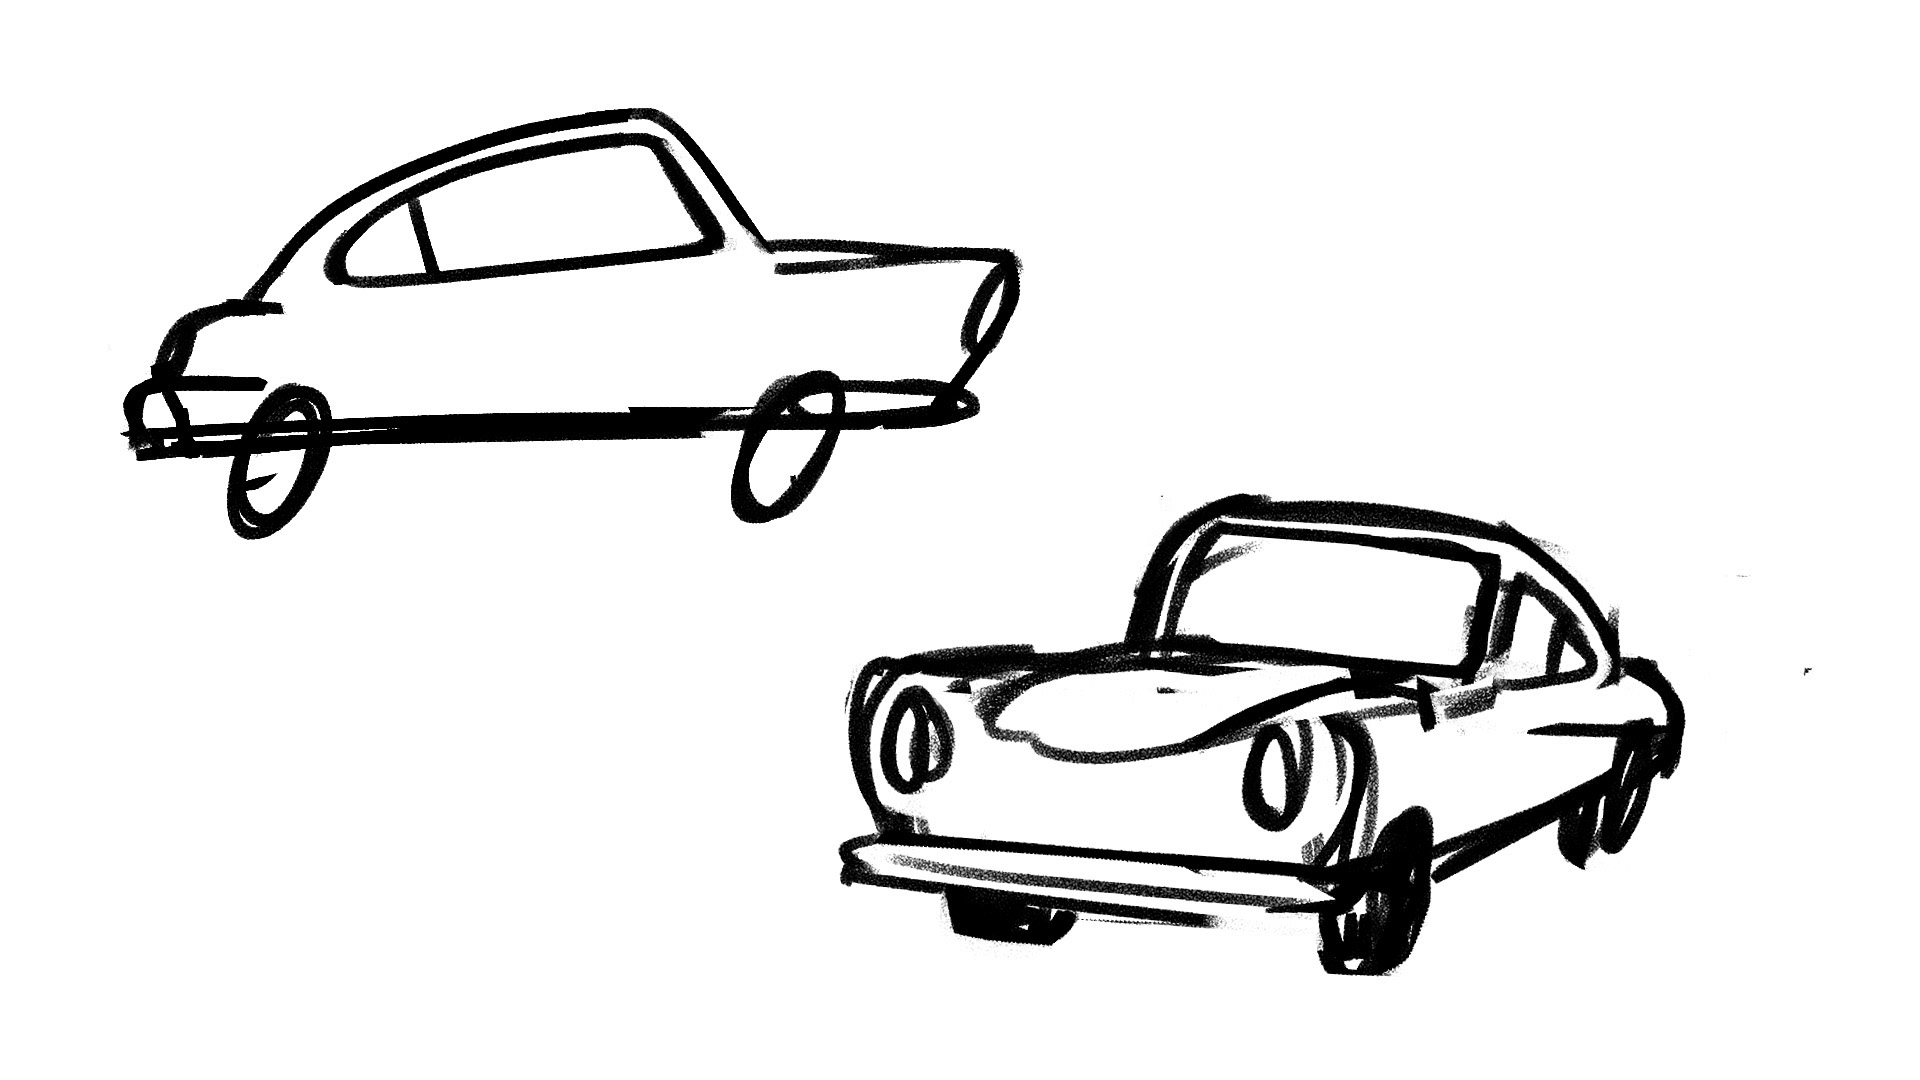
Since the only 3D models I could find of the Ford Falcon, let alone any vintage cars, were ones that were rendered hyper-realistically, I ended up hiring another close coworker from my old work in Korea to make a bespoke Ford Falcon model. Just as the talented 3D artist she is, Yeonjoo Lee (Dew) absolutely knocked it out of the park making the model stylistically akin to the rest of the film.
If I wanted to be able to print my sequence in riso, I needed to set up my scene so that I could render the sequence in separate colors. I also needed to texture my 3D scene with a toon shader in order to achieve the look I wanted. So then I recruited ANOTHER friend, Maral, to help me get there. I sent her a rough sketch of how I wanted my scene to look along with my C4D file with the camera and elements animated.

Styleframe I sent Maral
She took the scene into Maya to texture the scene, and rendered out a crypto pass of the scene so that I could separate the renders by colors in AfterEffects.
1st rough draft

Textured in Maya
Colors separated in AfterEffects using cryptopass
Composited
By this time, I had accepted that I would not be able to do the riso animation before my submission deadline April 10th, 2023. So for the version I submitted for school, I color-picked from the color chart from the riso lab that shows how each ink looks printed and experimented with blending modes to emulate the riso look. I also offset the elements and added wiggle expression to the position property to lean into the analog imperfections unique to riso animations.
The moral of the story: keep your talented friends close.