SETTING UP YOUR PRINTS
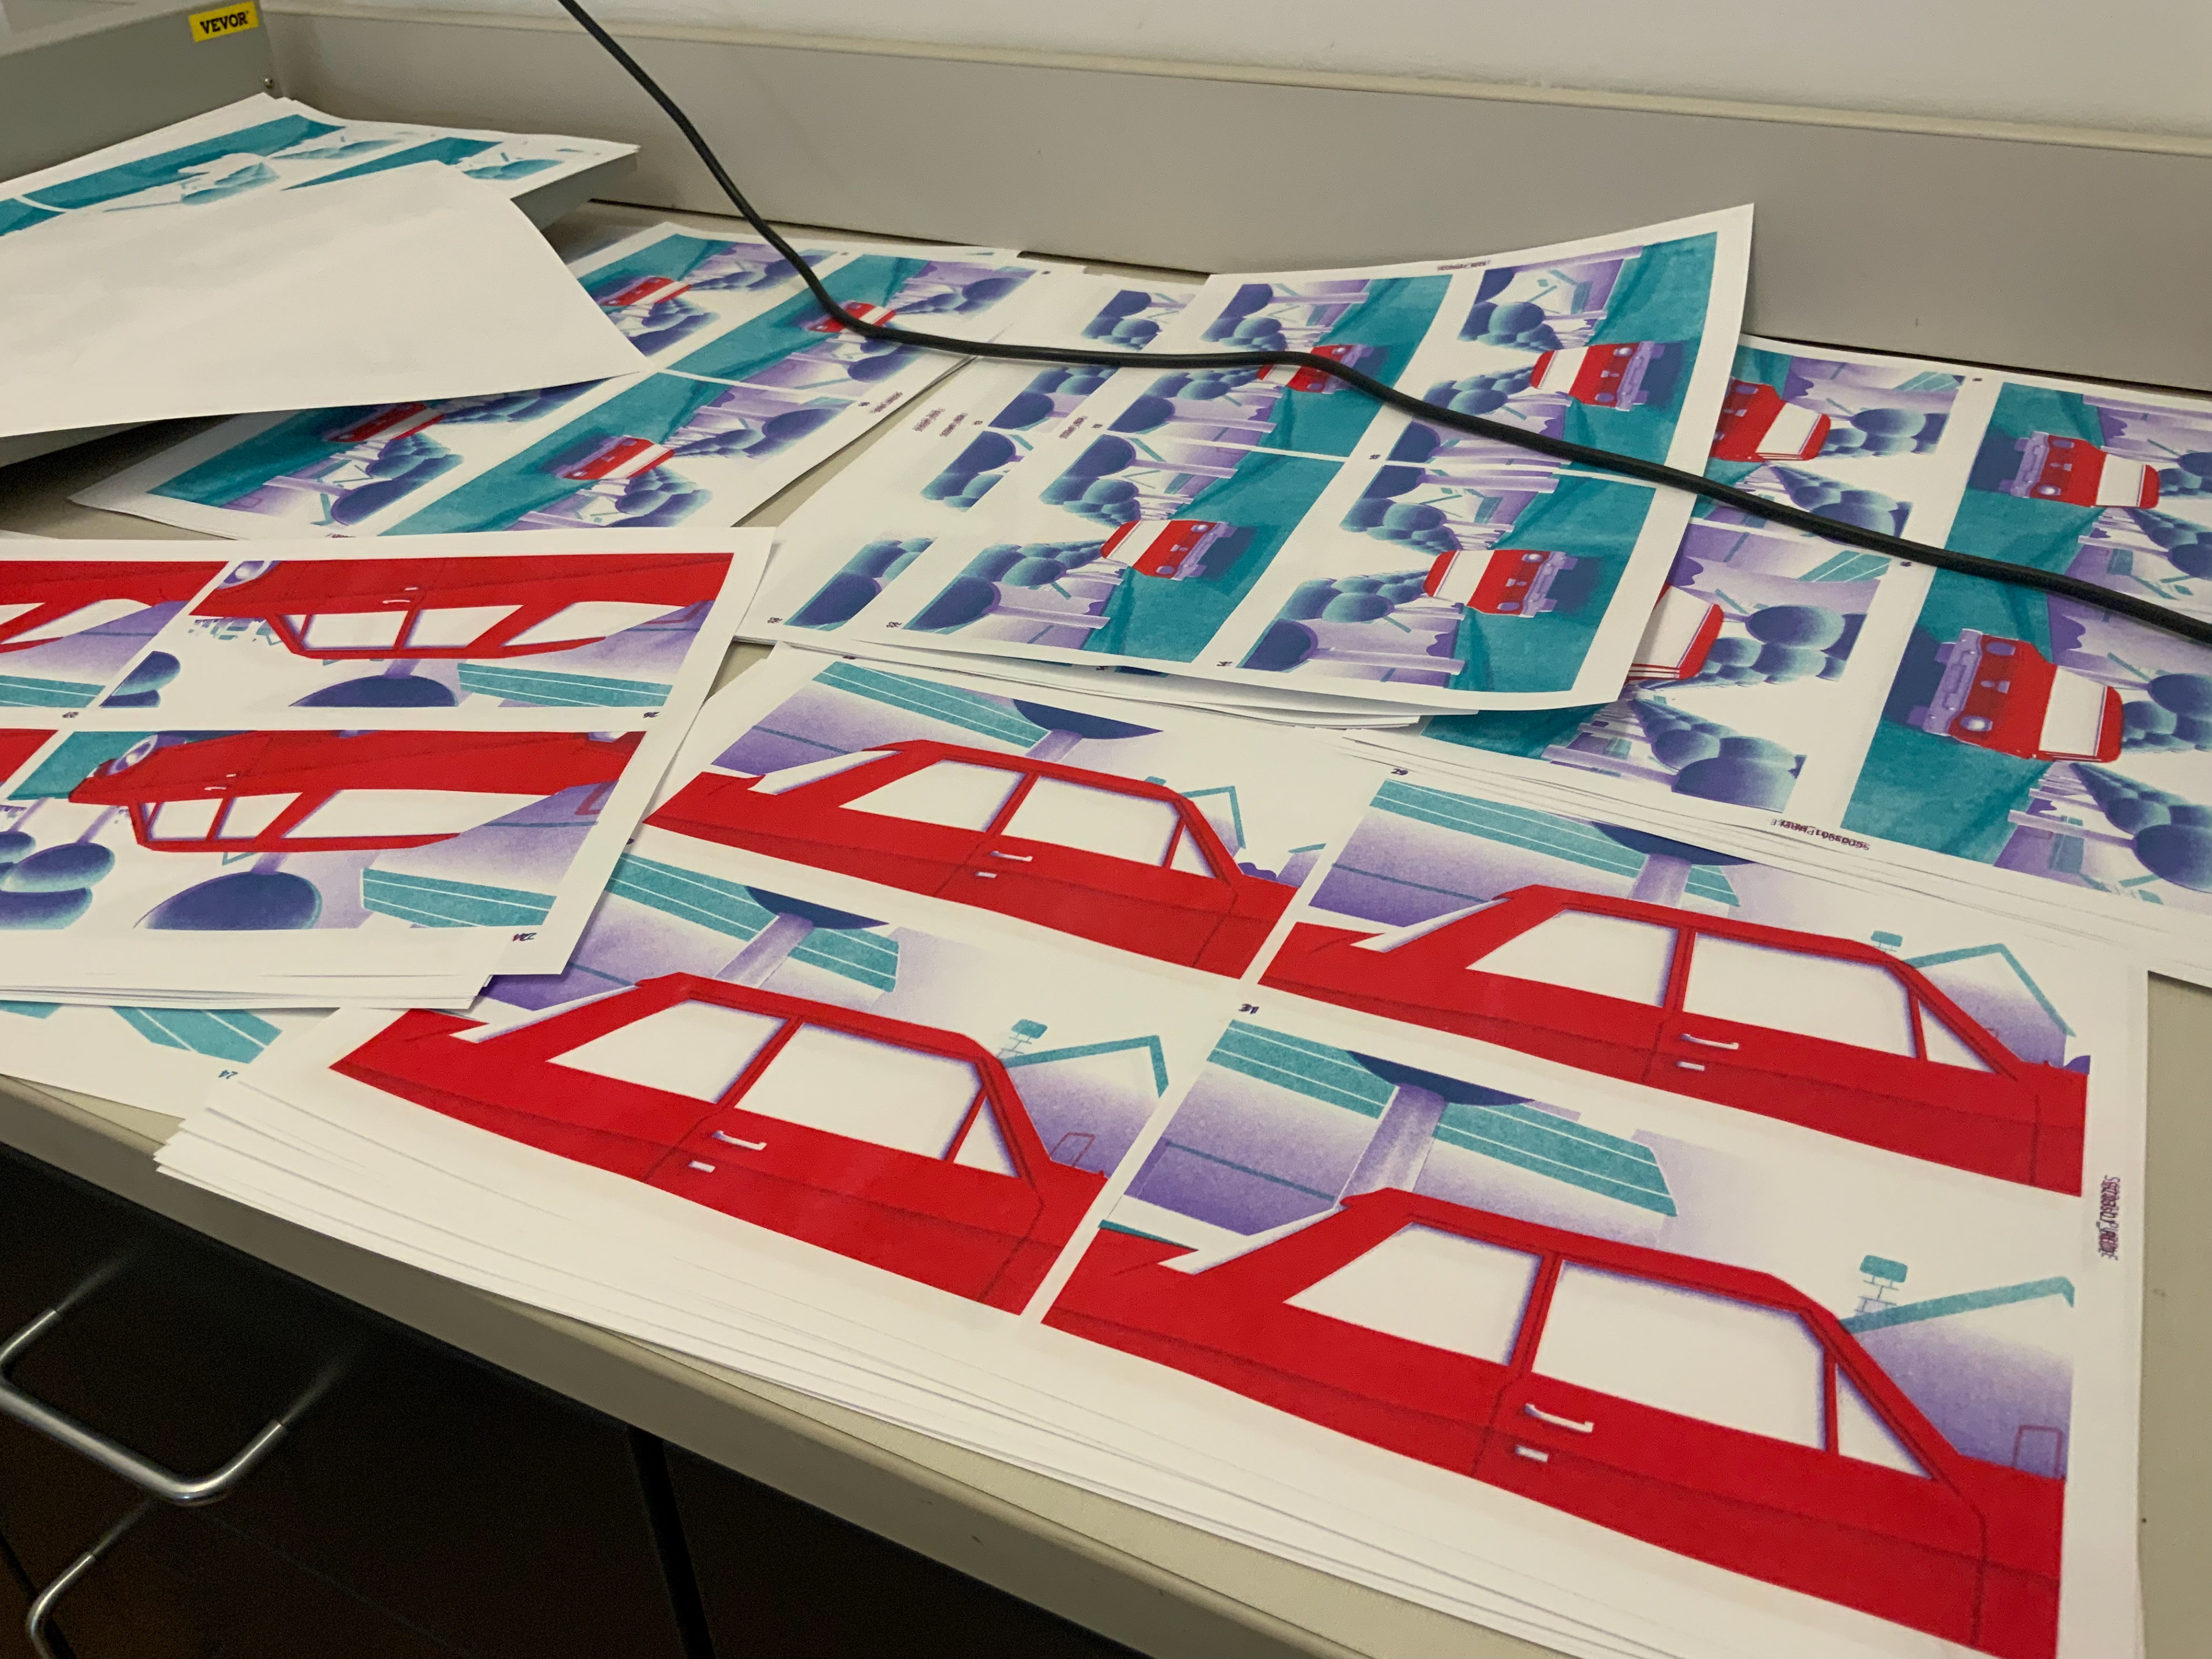
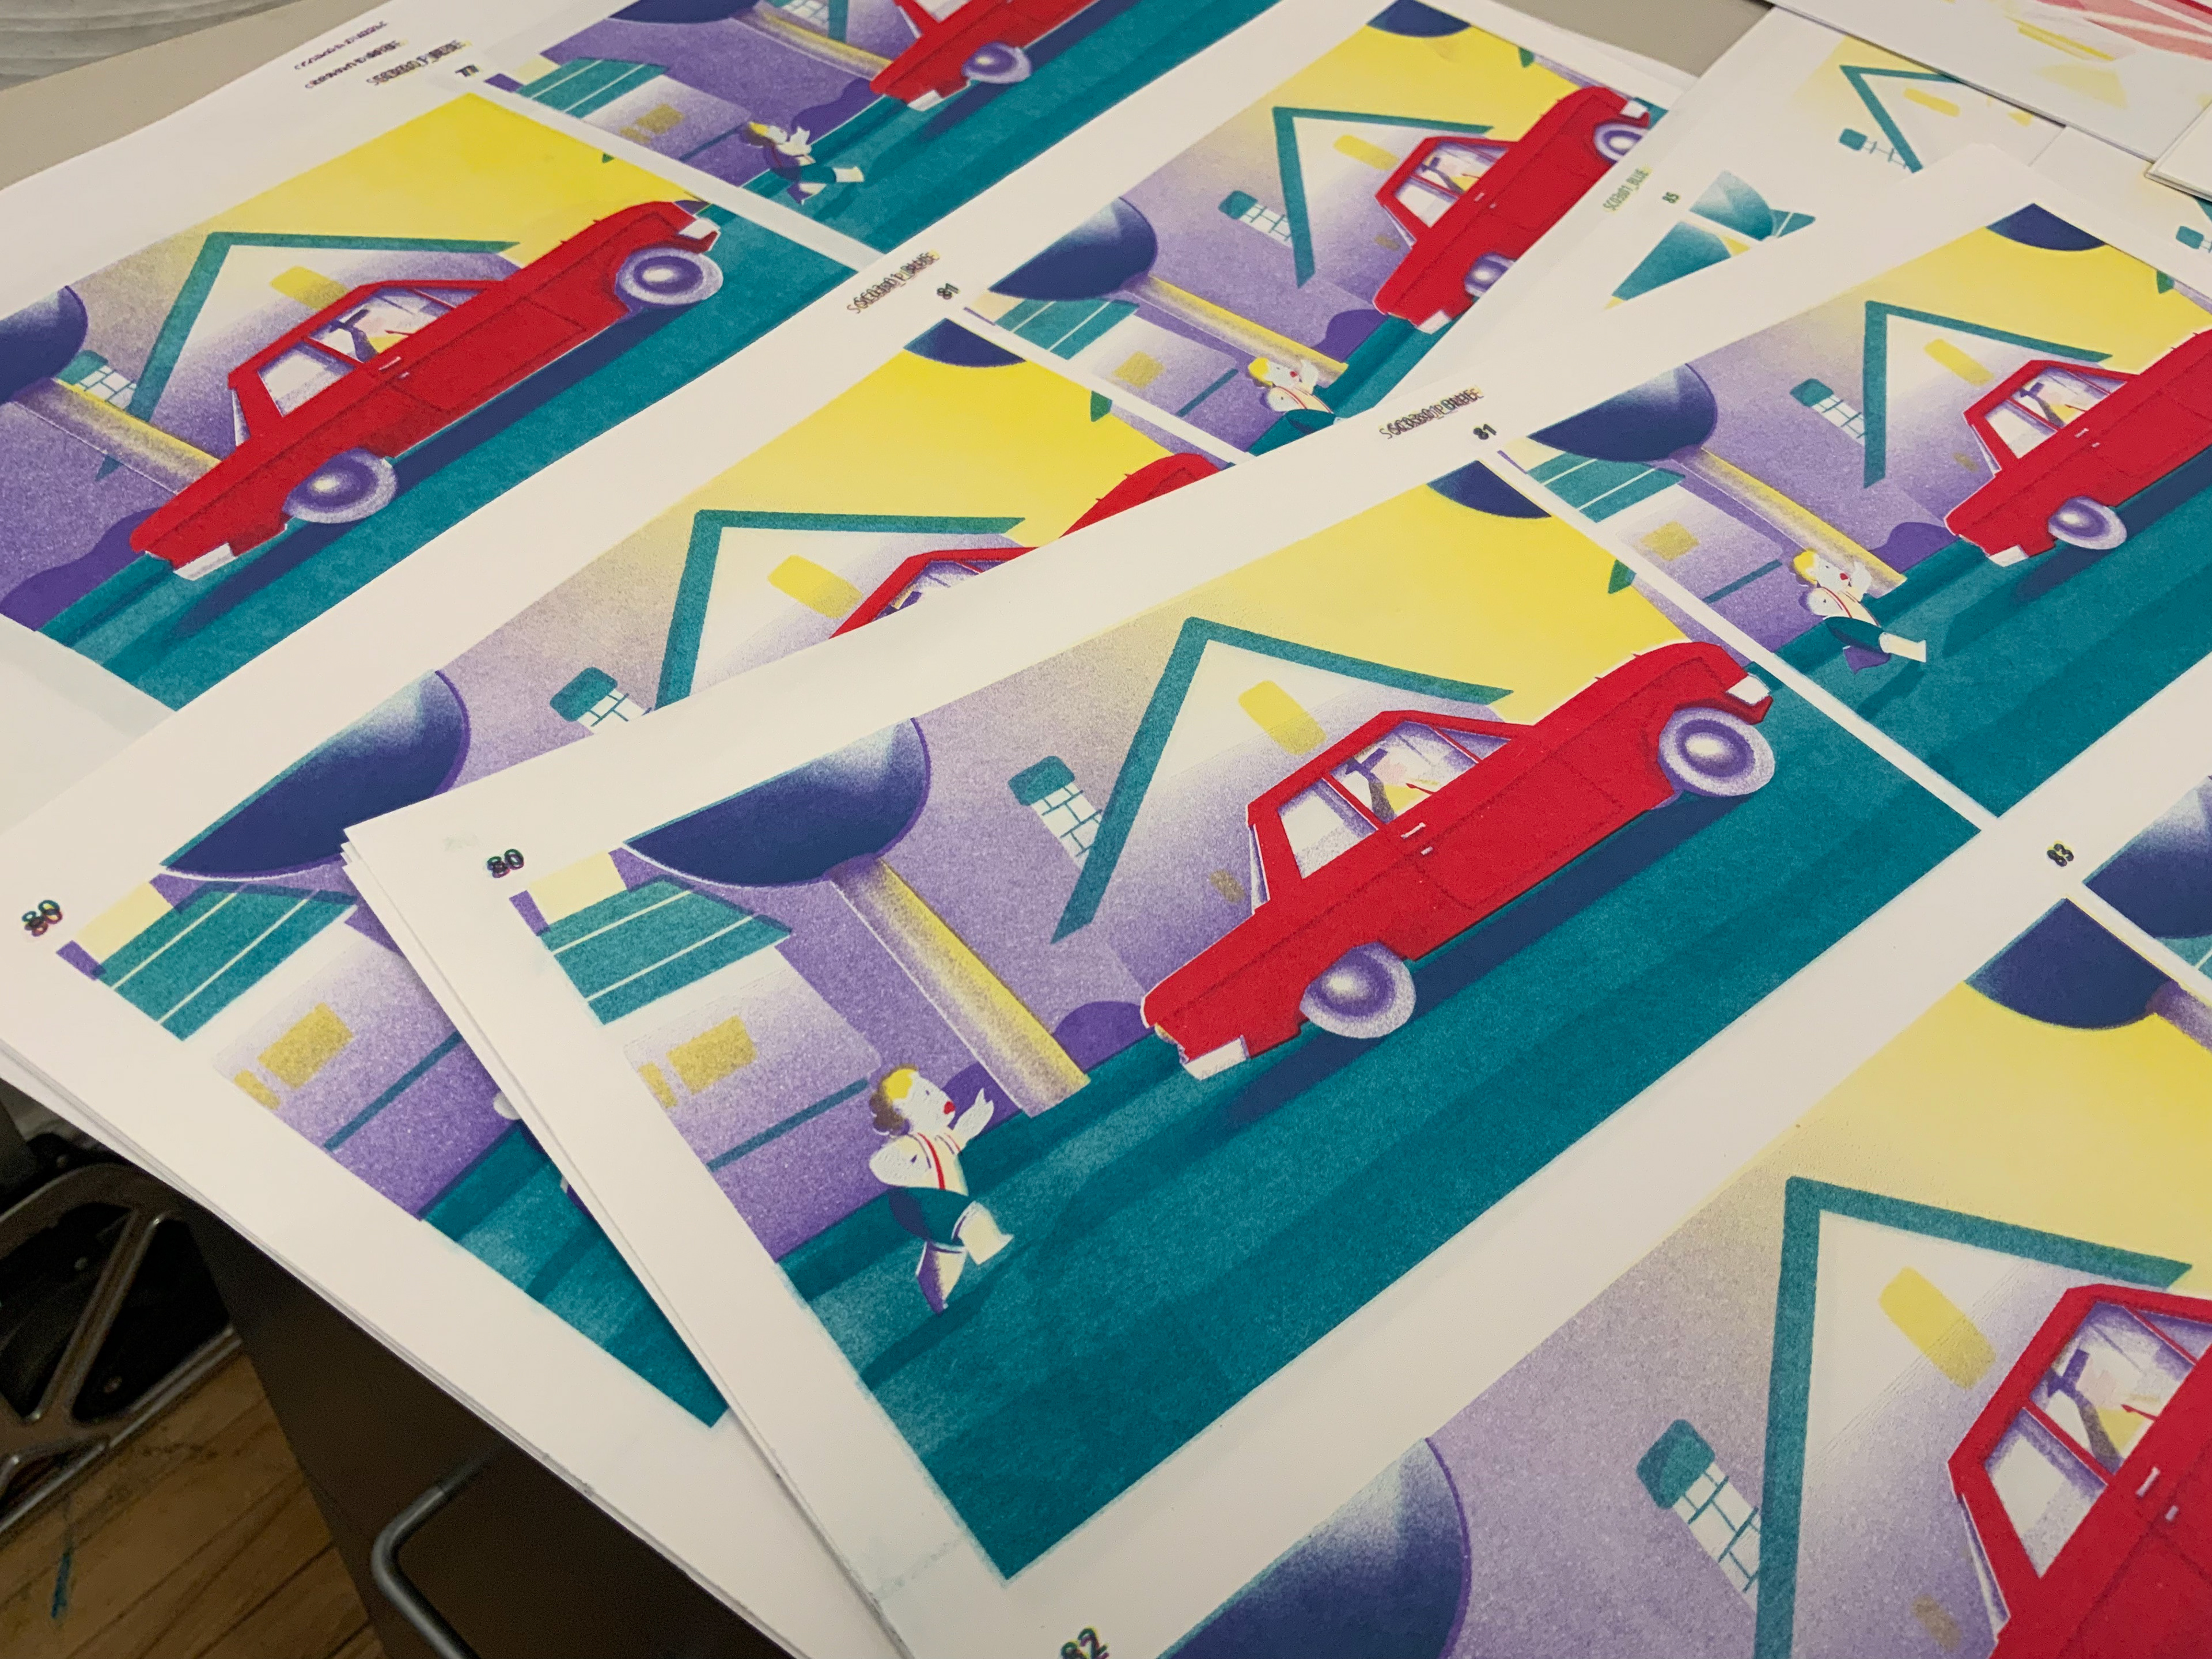
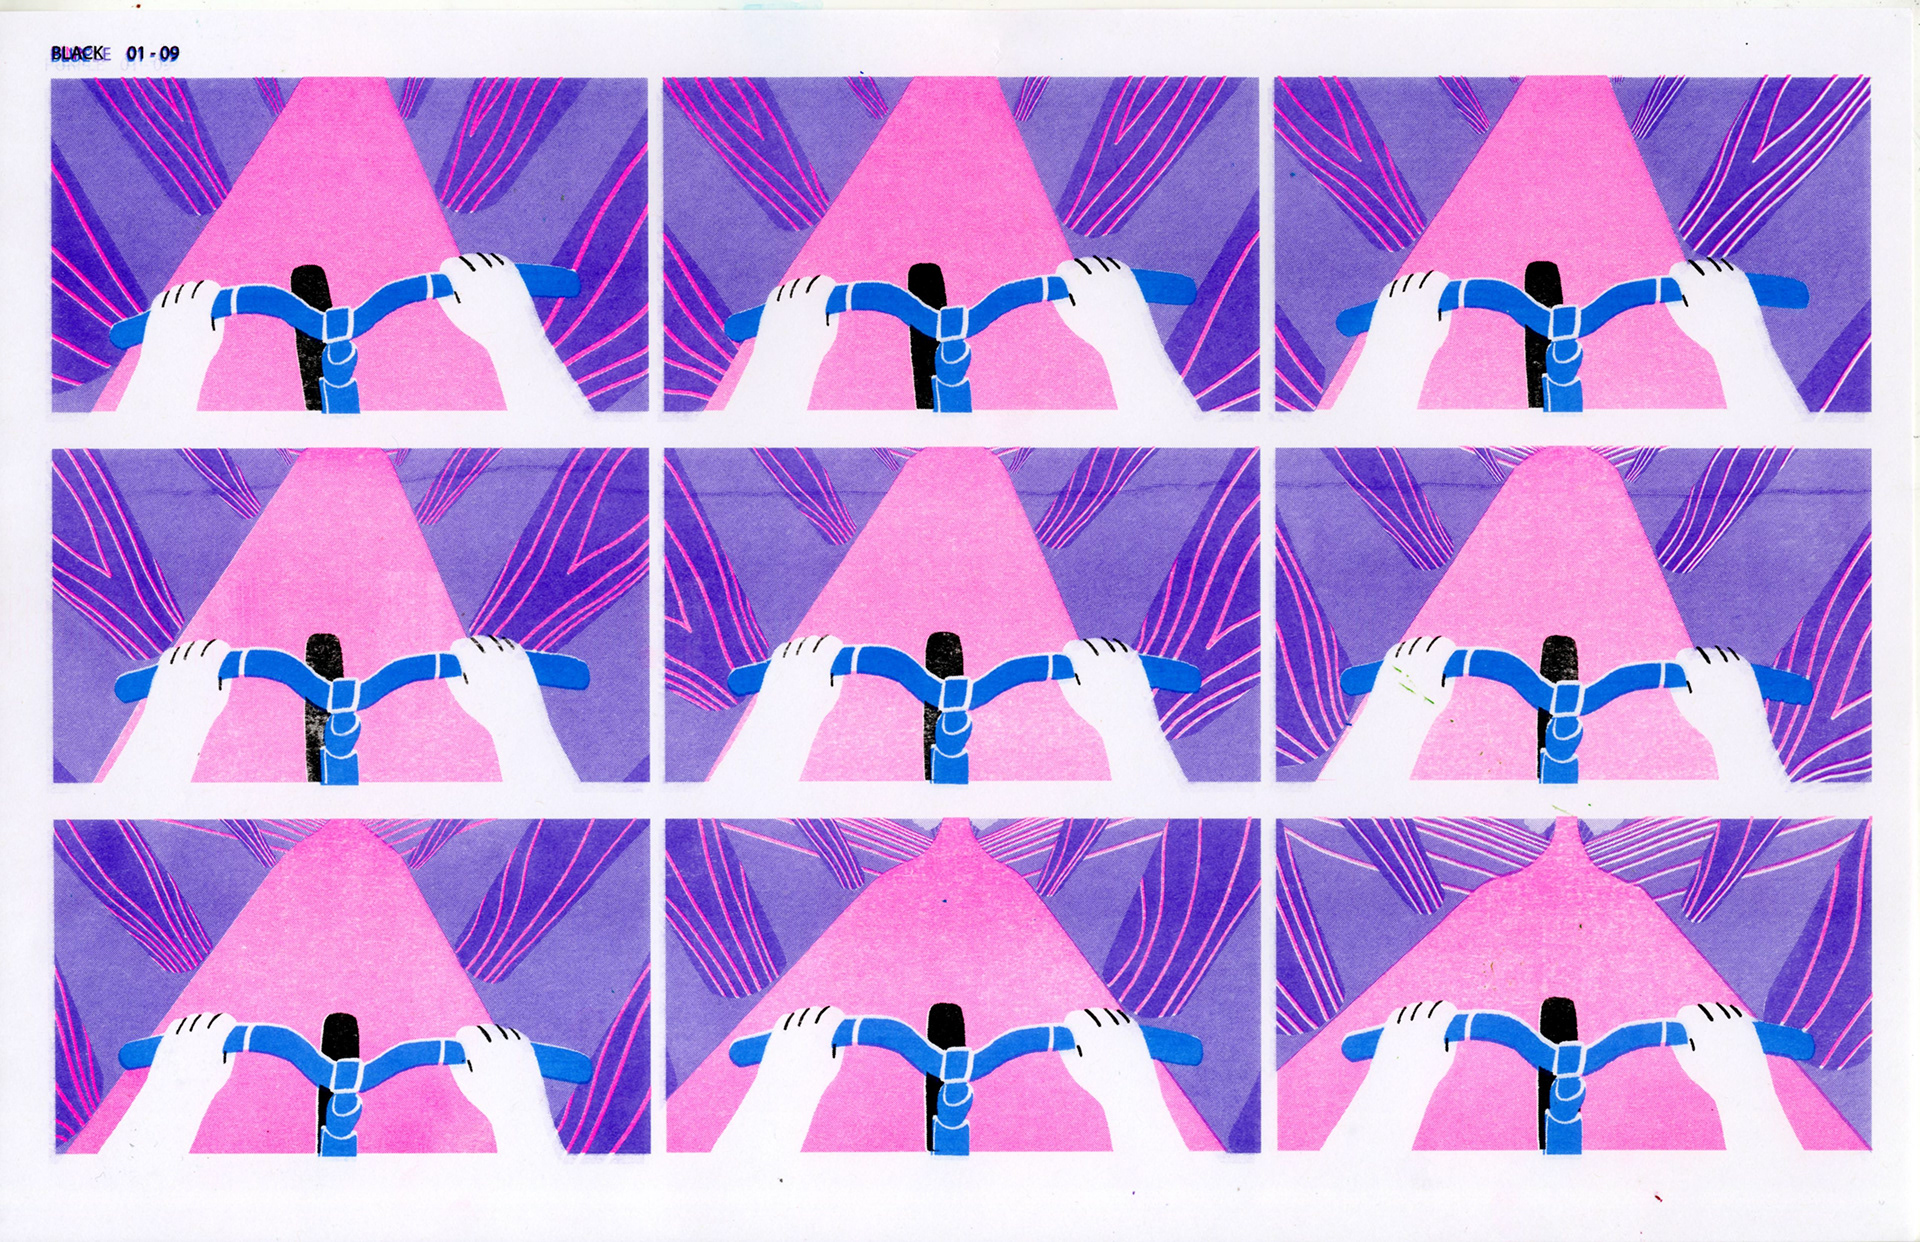
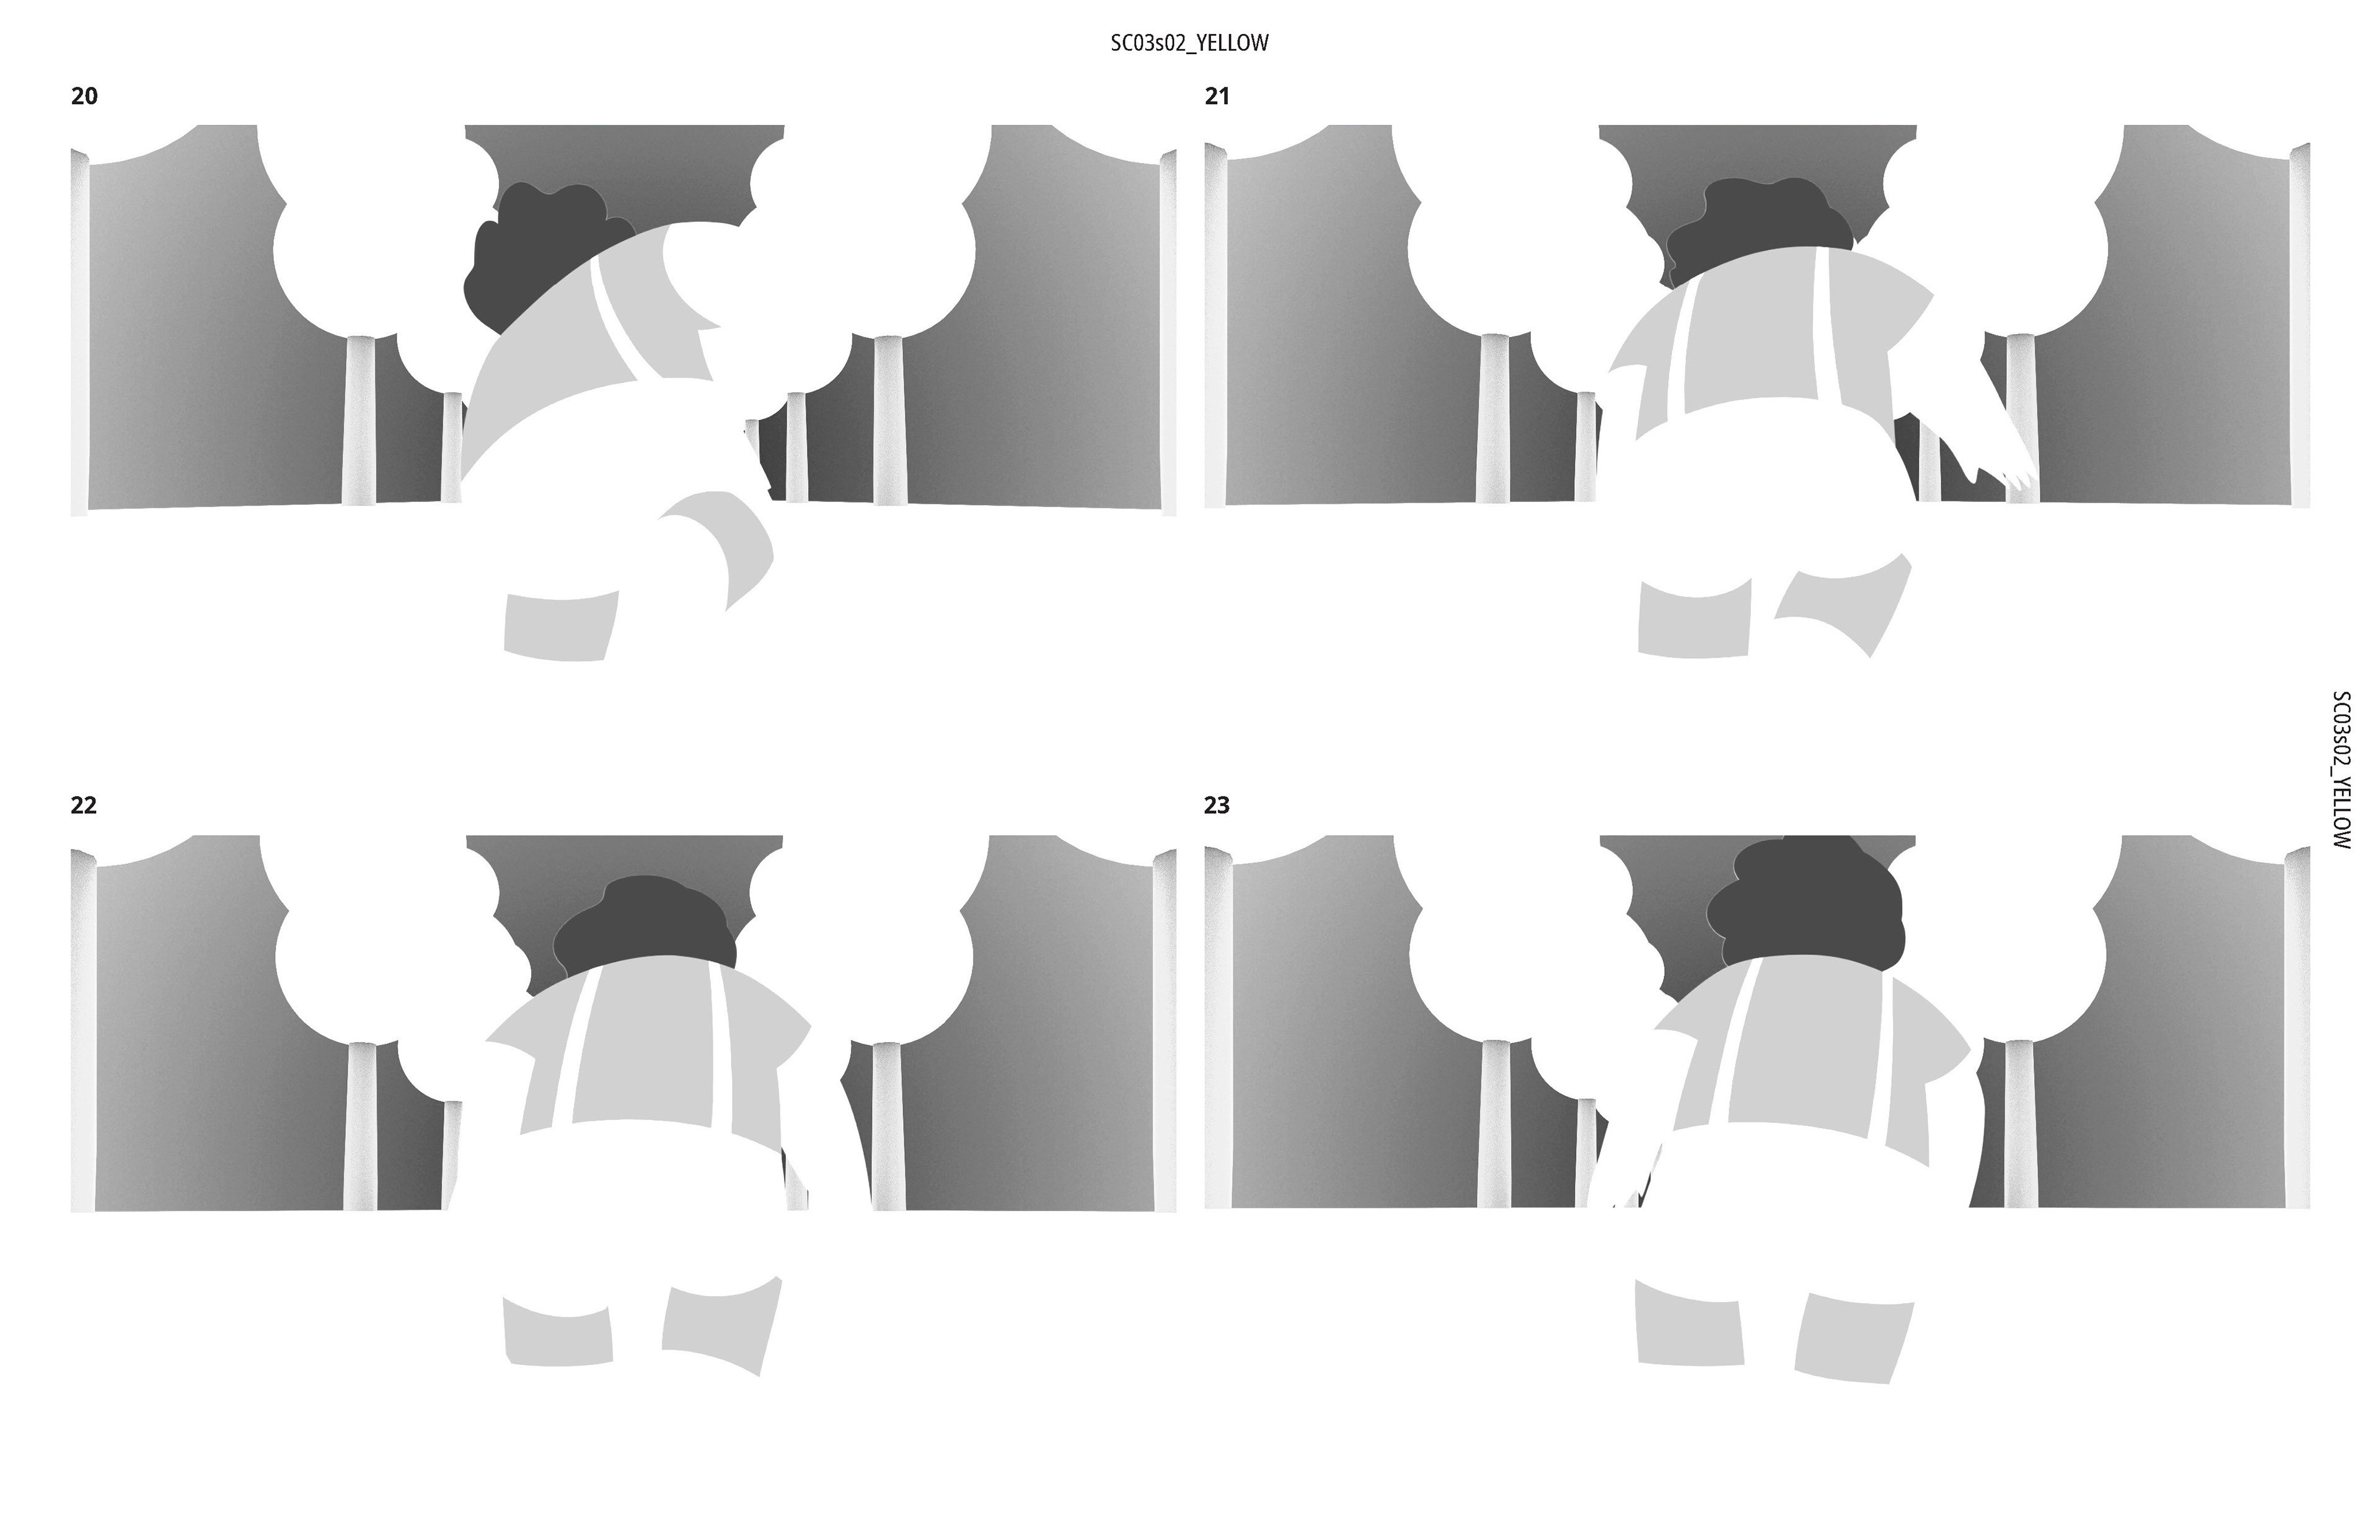
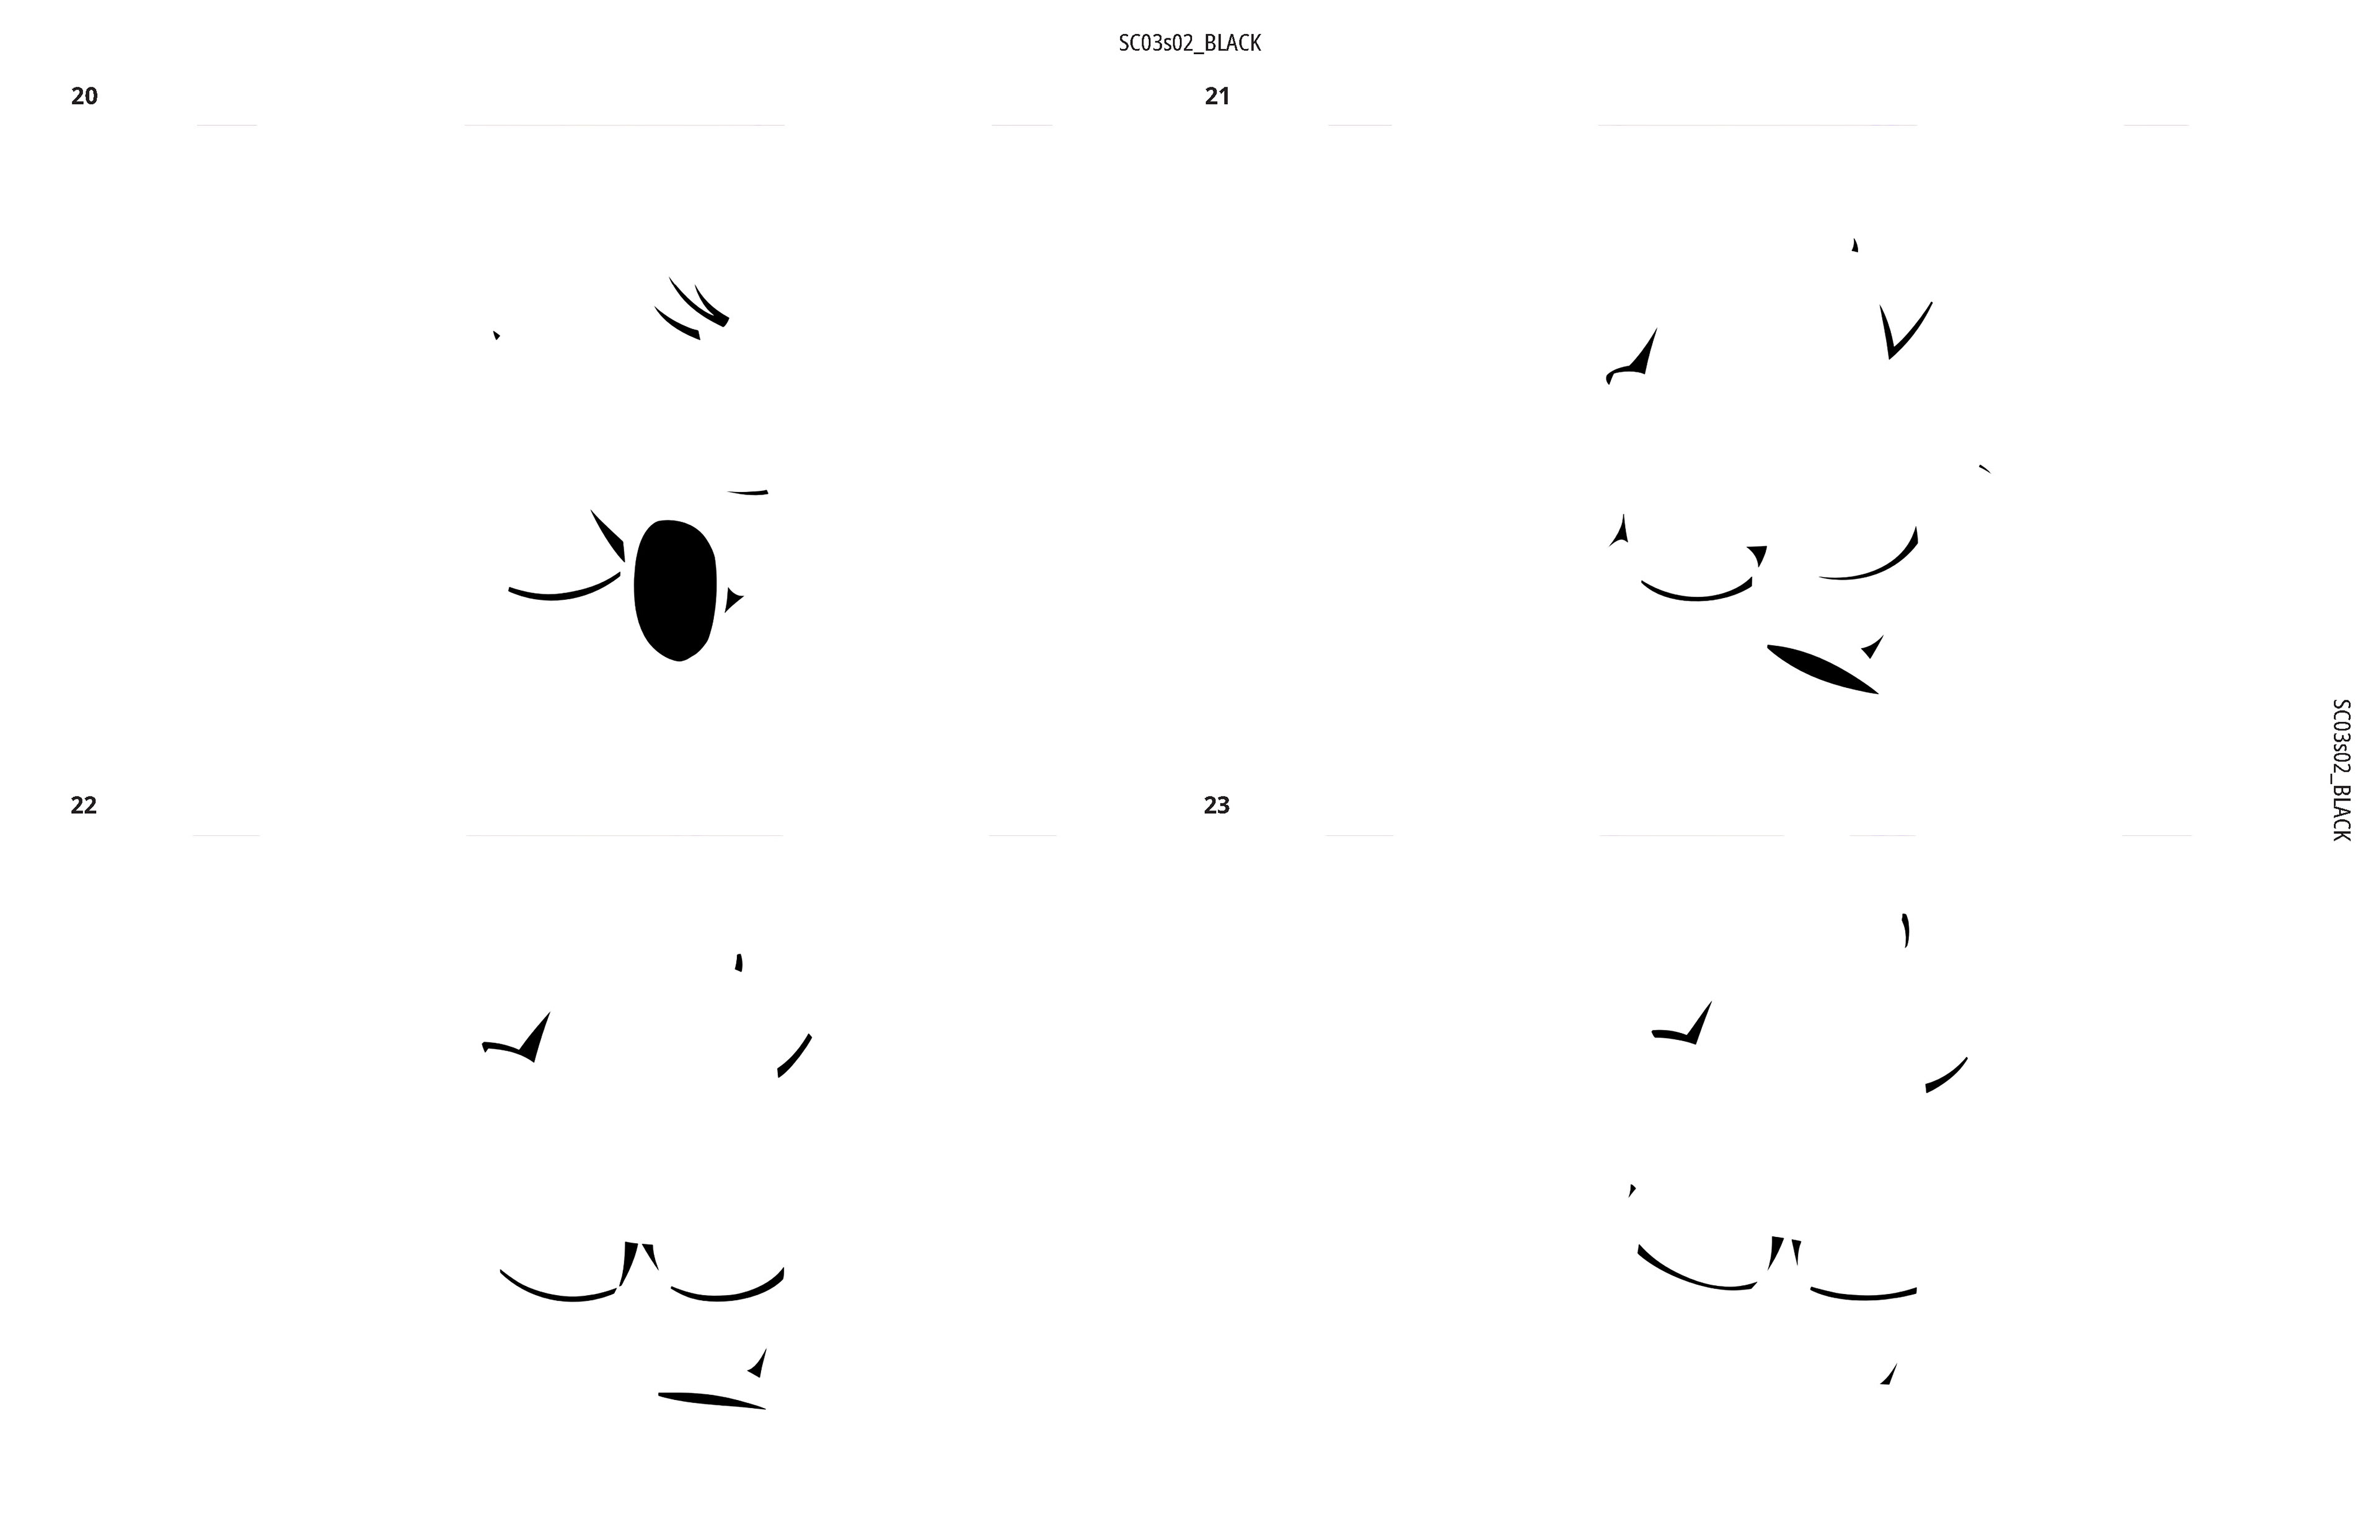
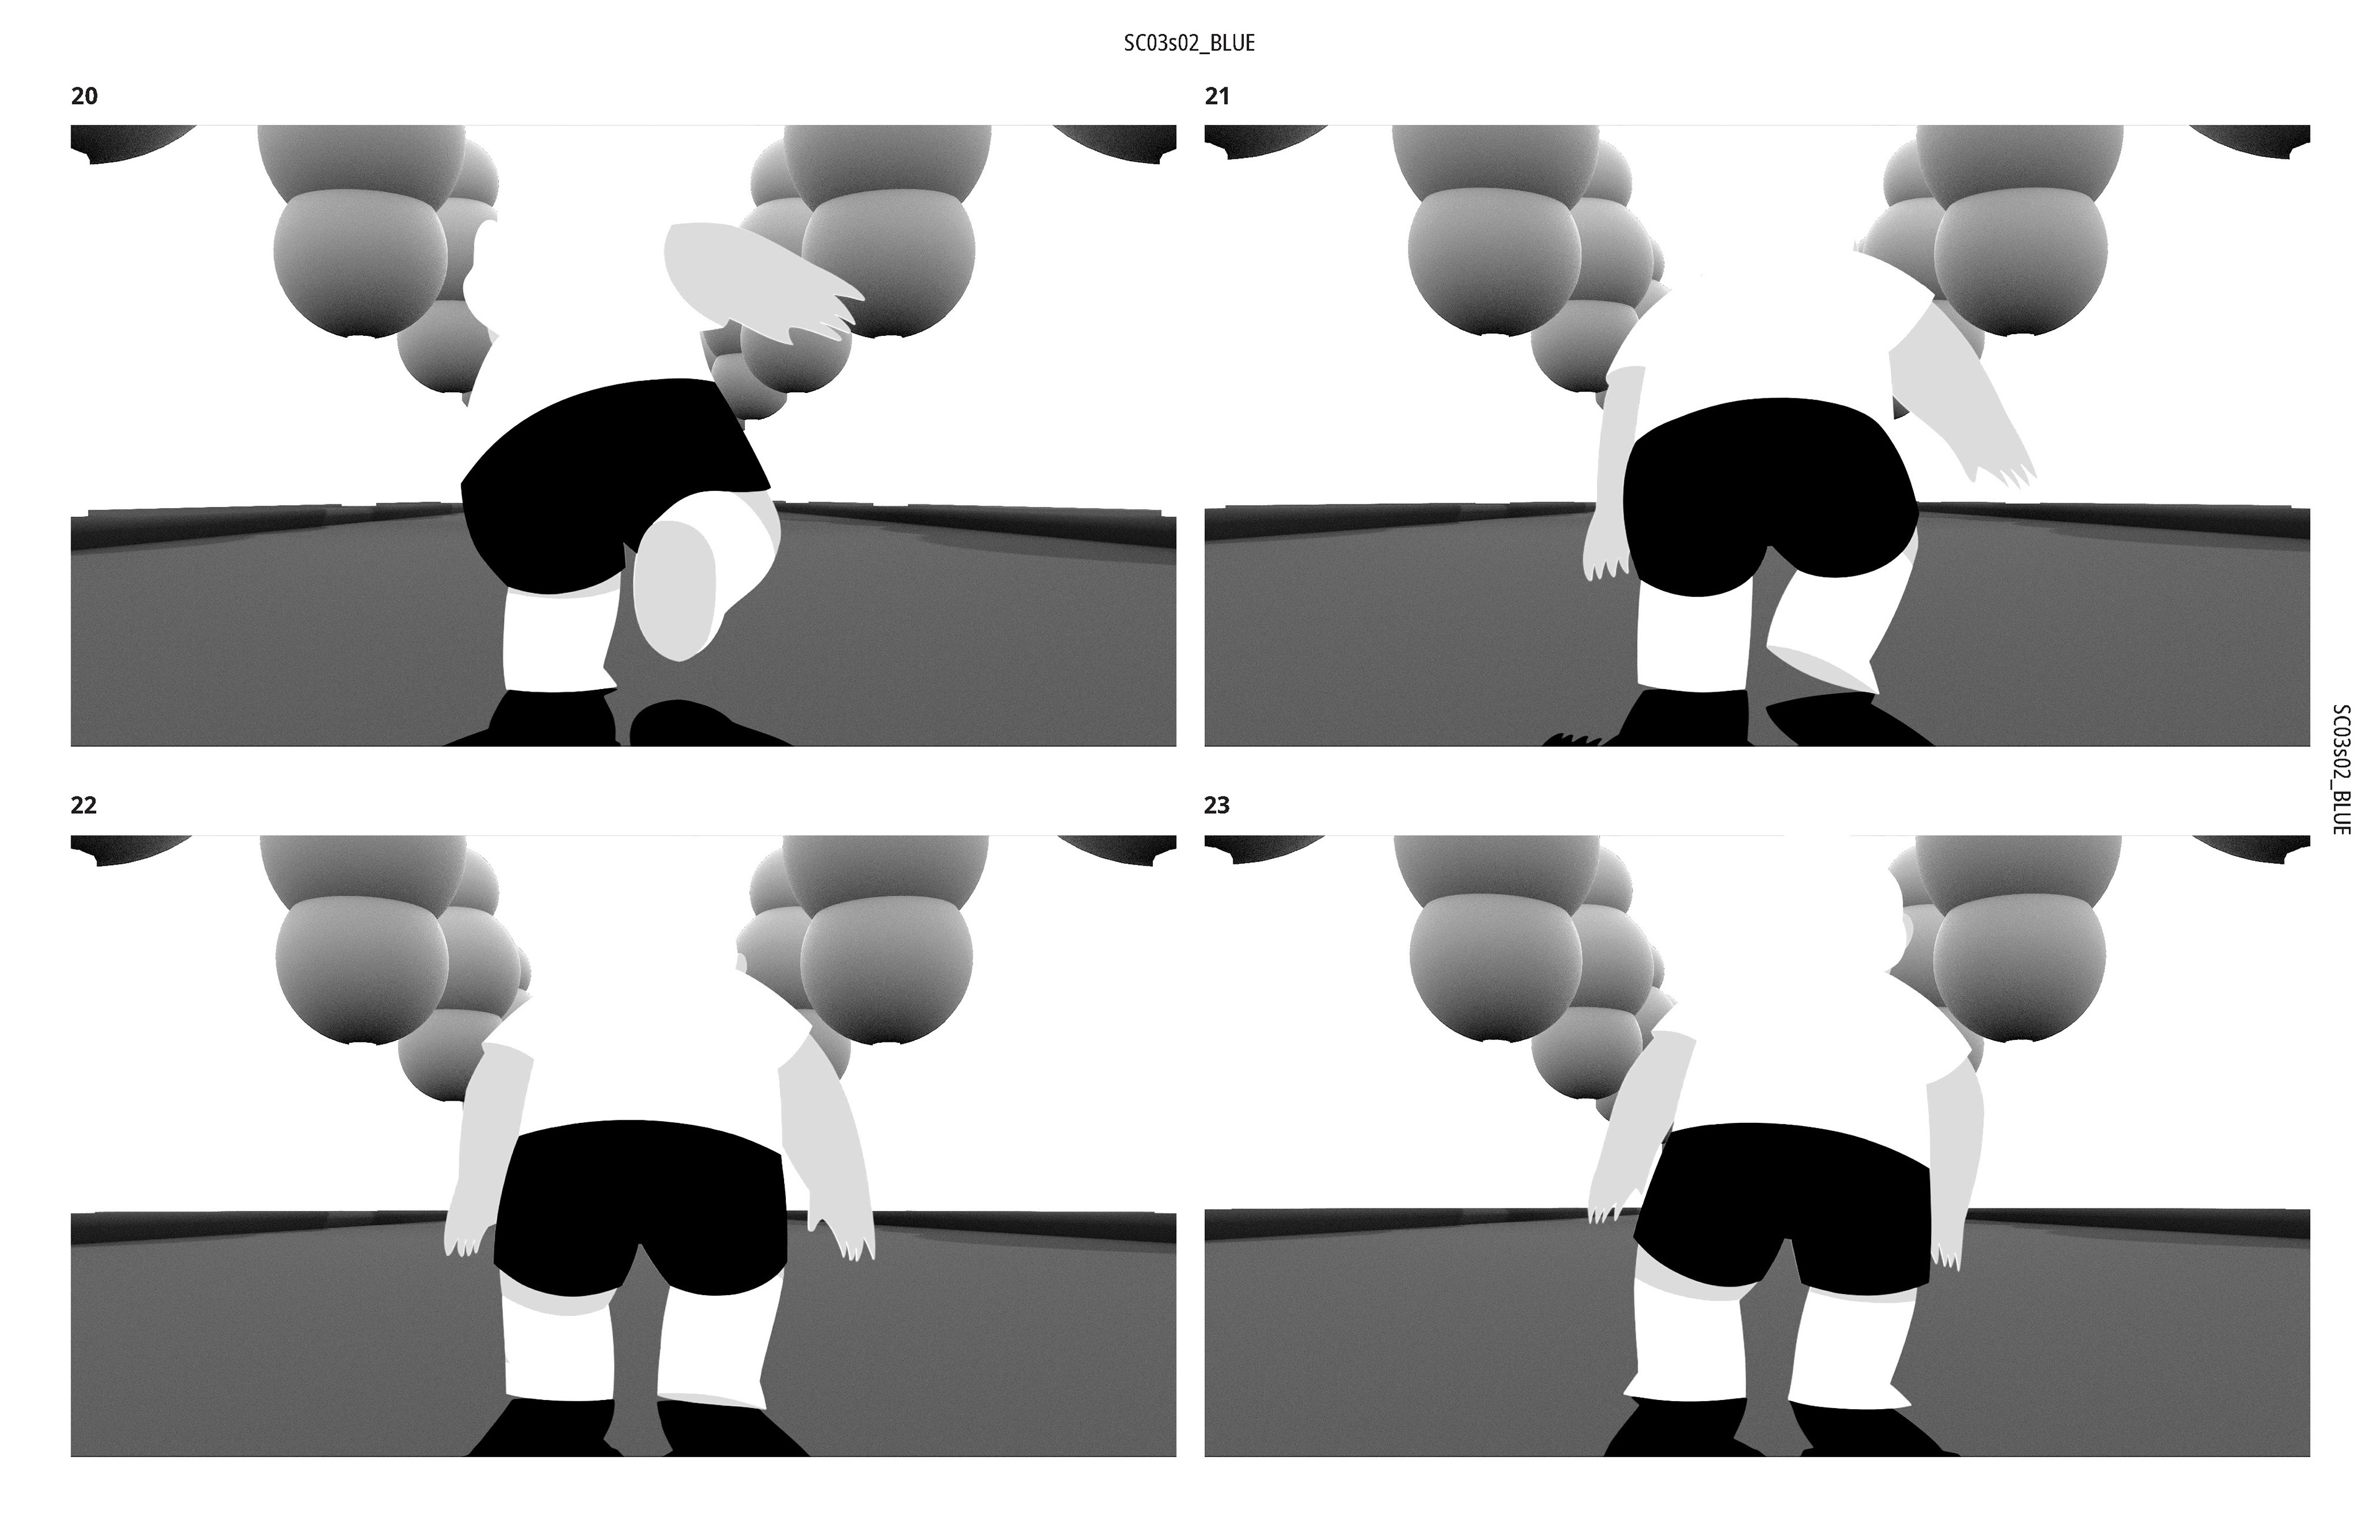
To set up my documents for riso printing, I had to render out the same sequence five different times - each time rendering one specific color. In my previous riso animation, I had printed out a 3x3 grid to be efficient with my printing. However, for this project, because I didn’t want to compromise the resolution of how the prints would appear on a 3840px * 2160px resolution, I laid out the frames in a 2x2 grid per tabloid page.
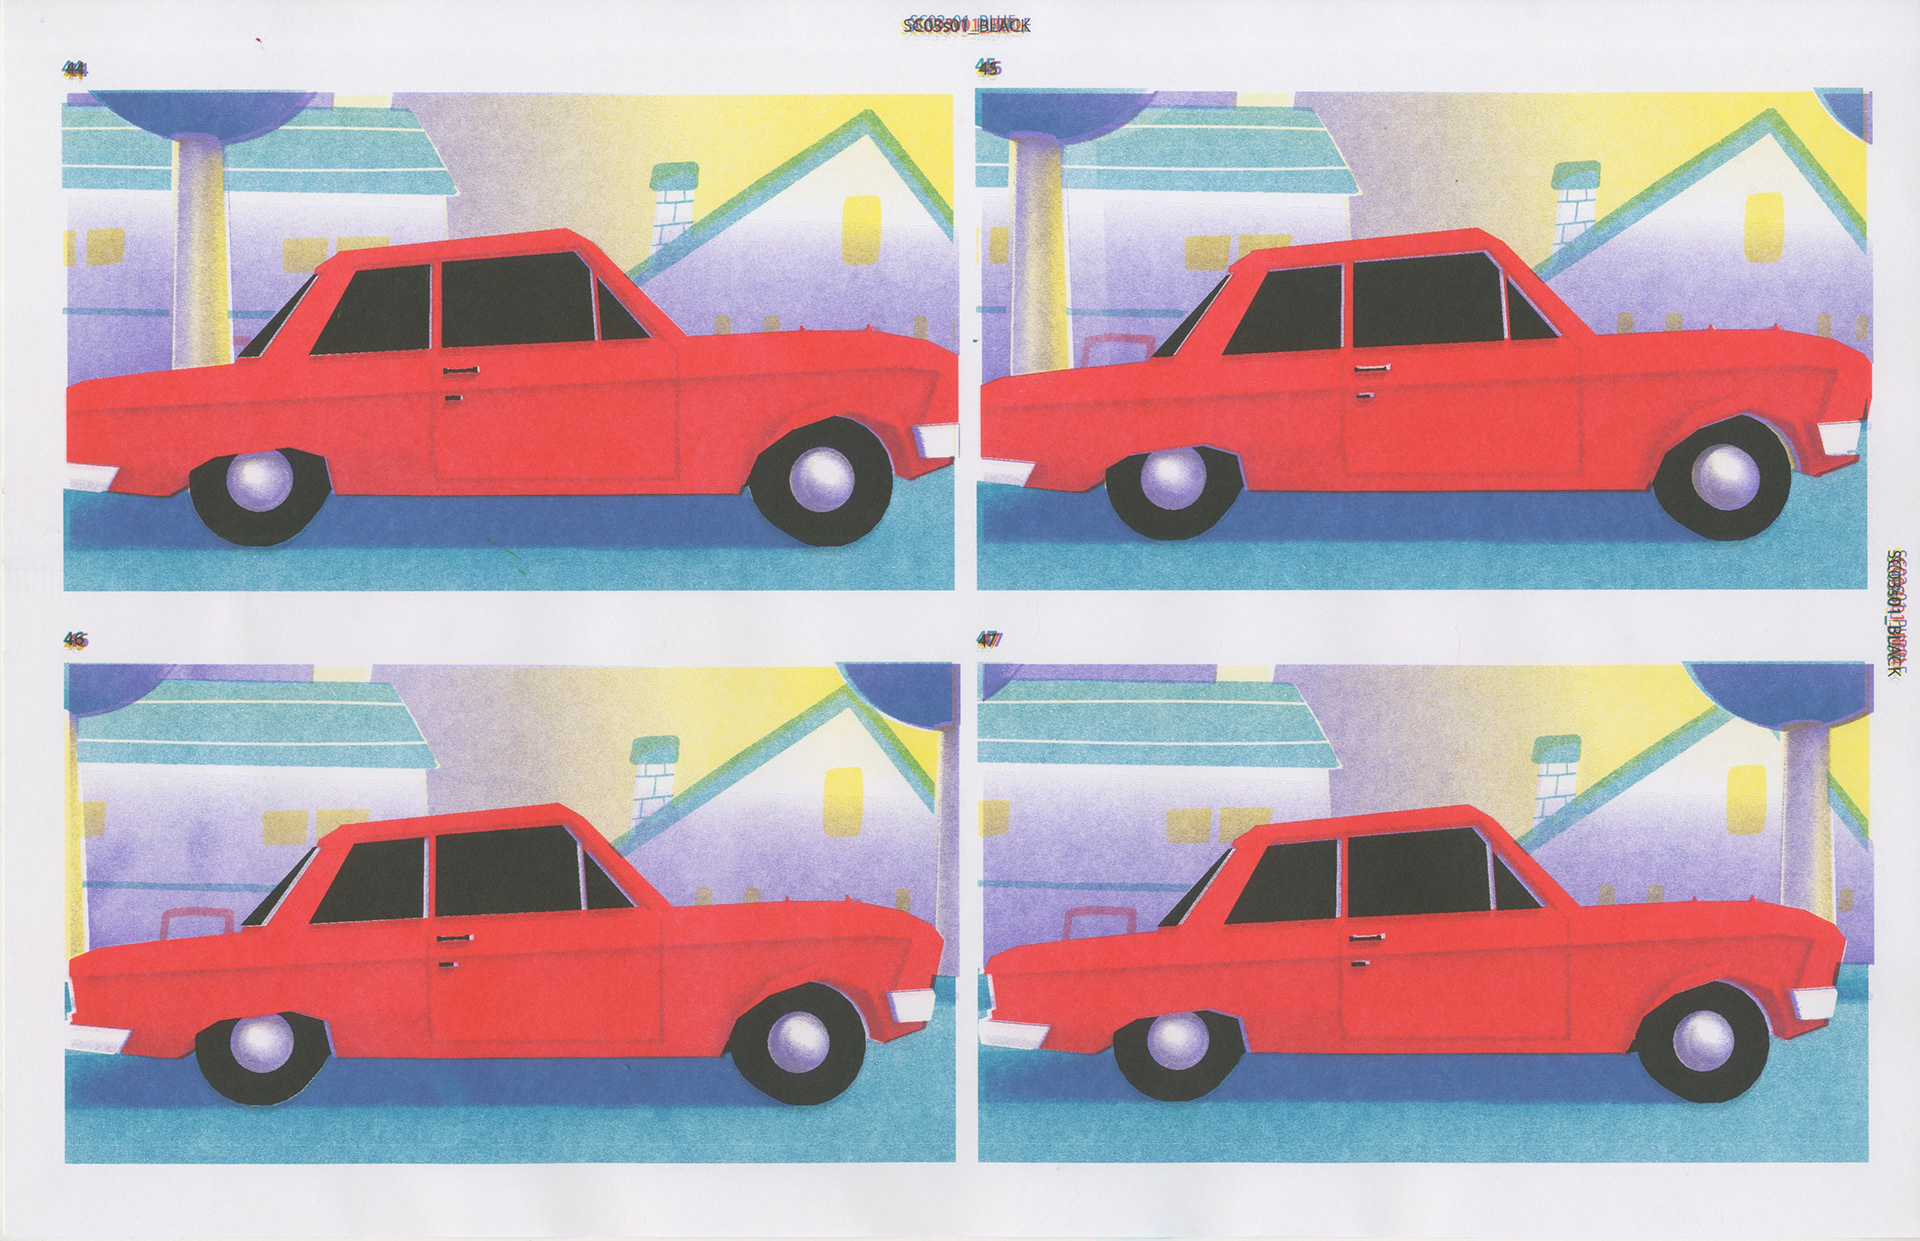
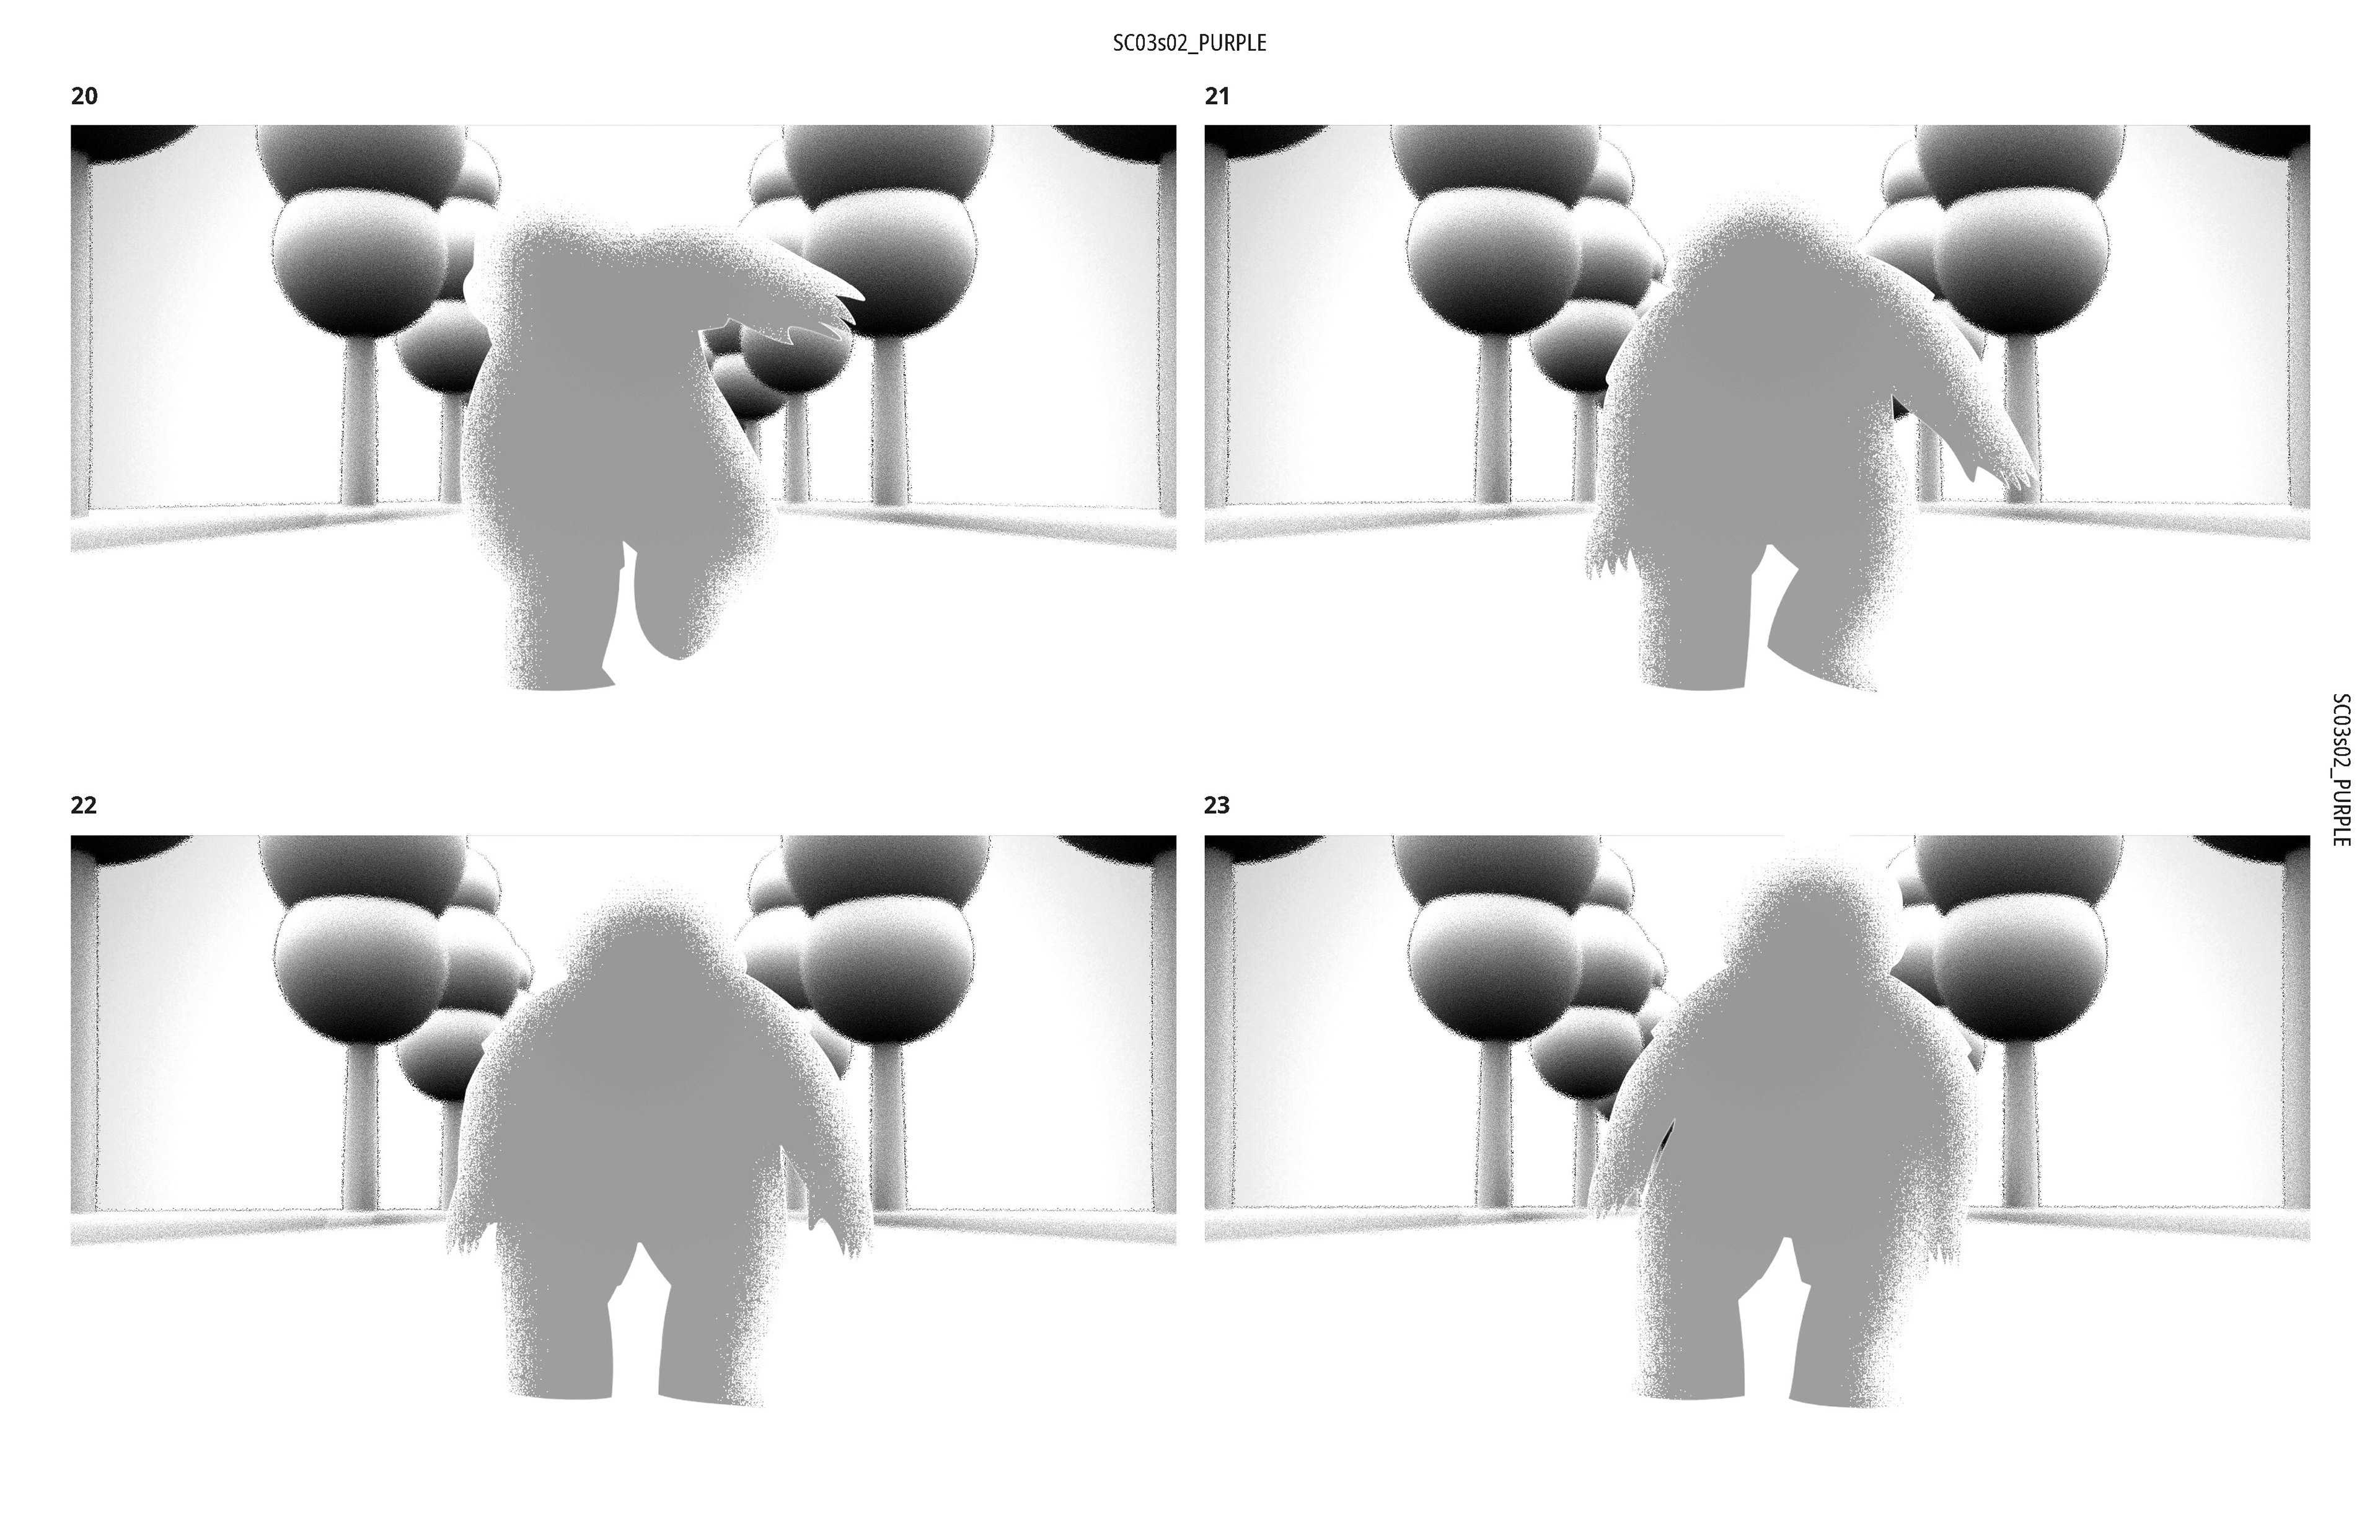
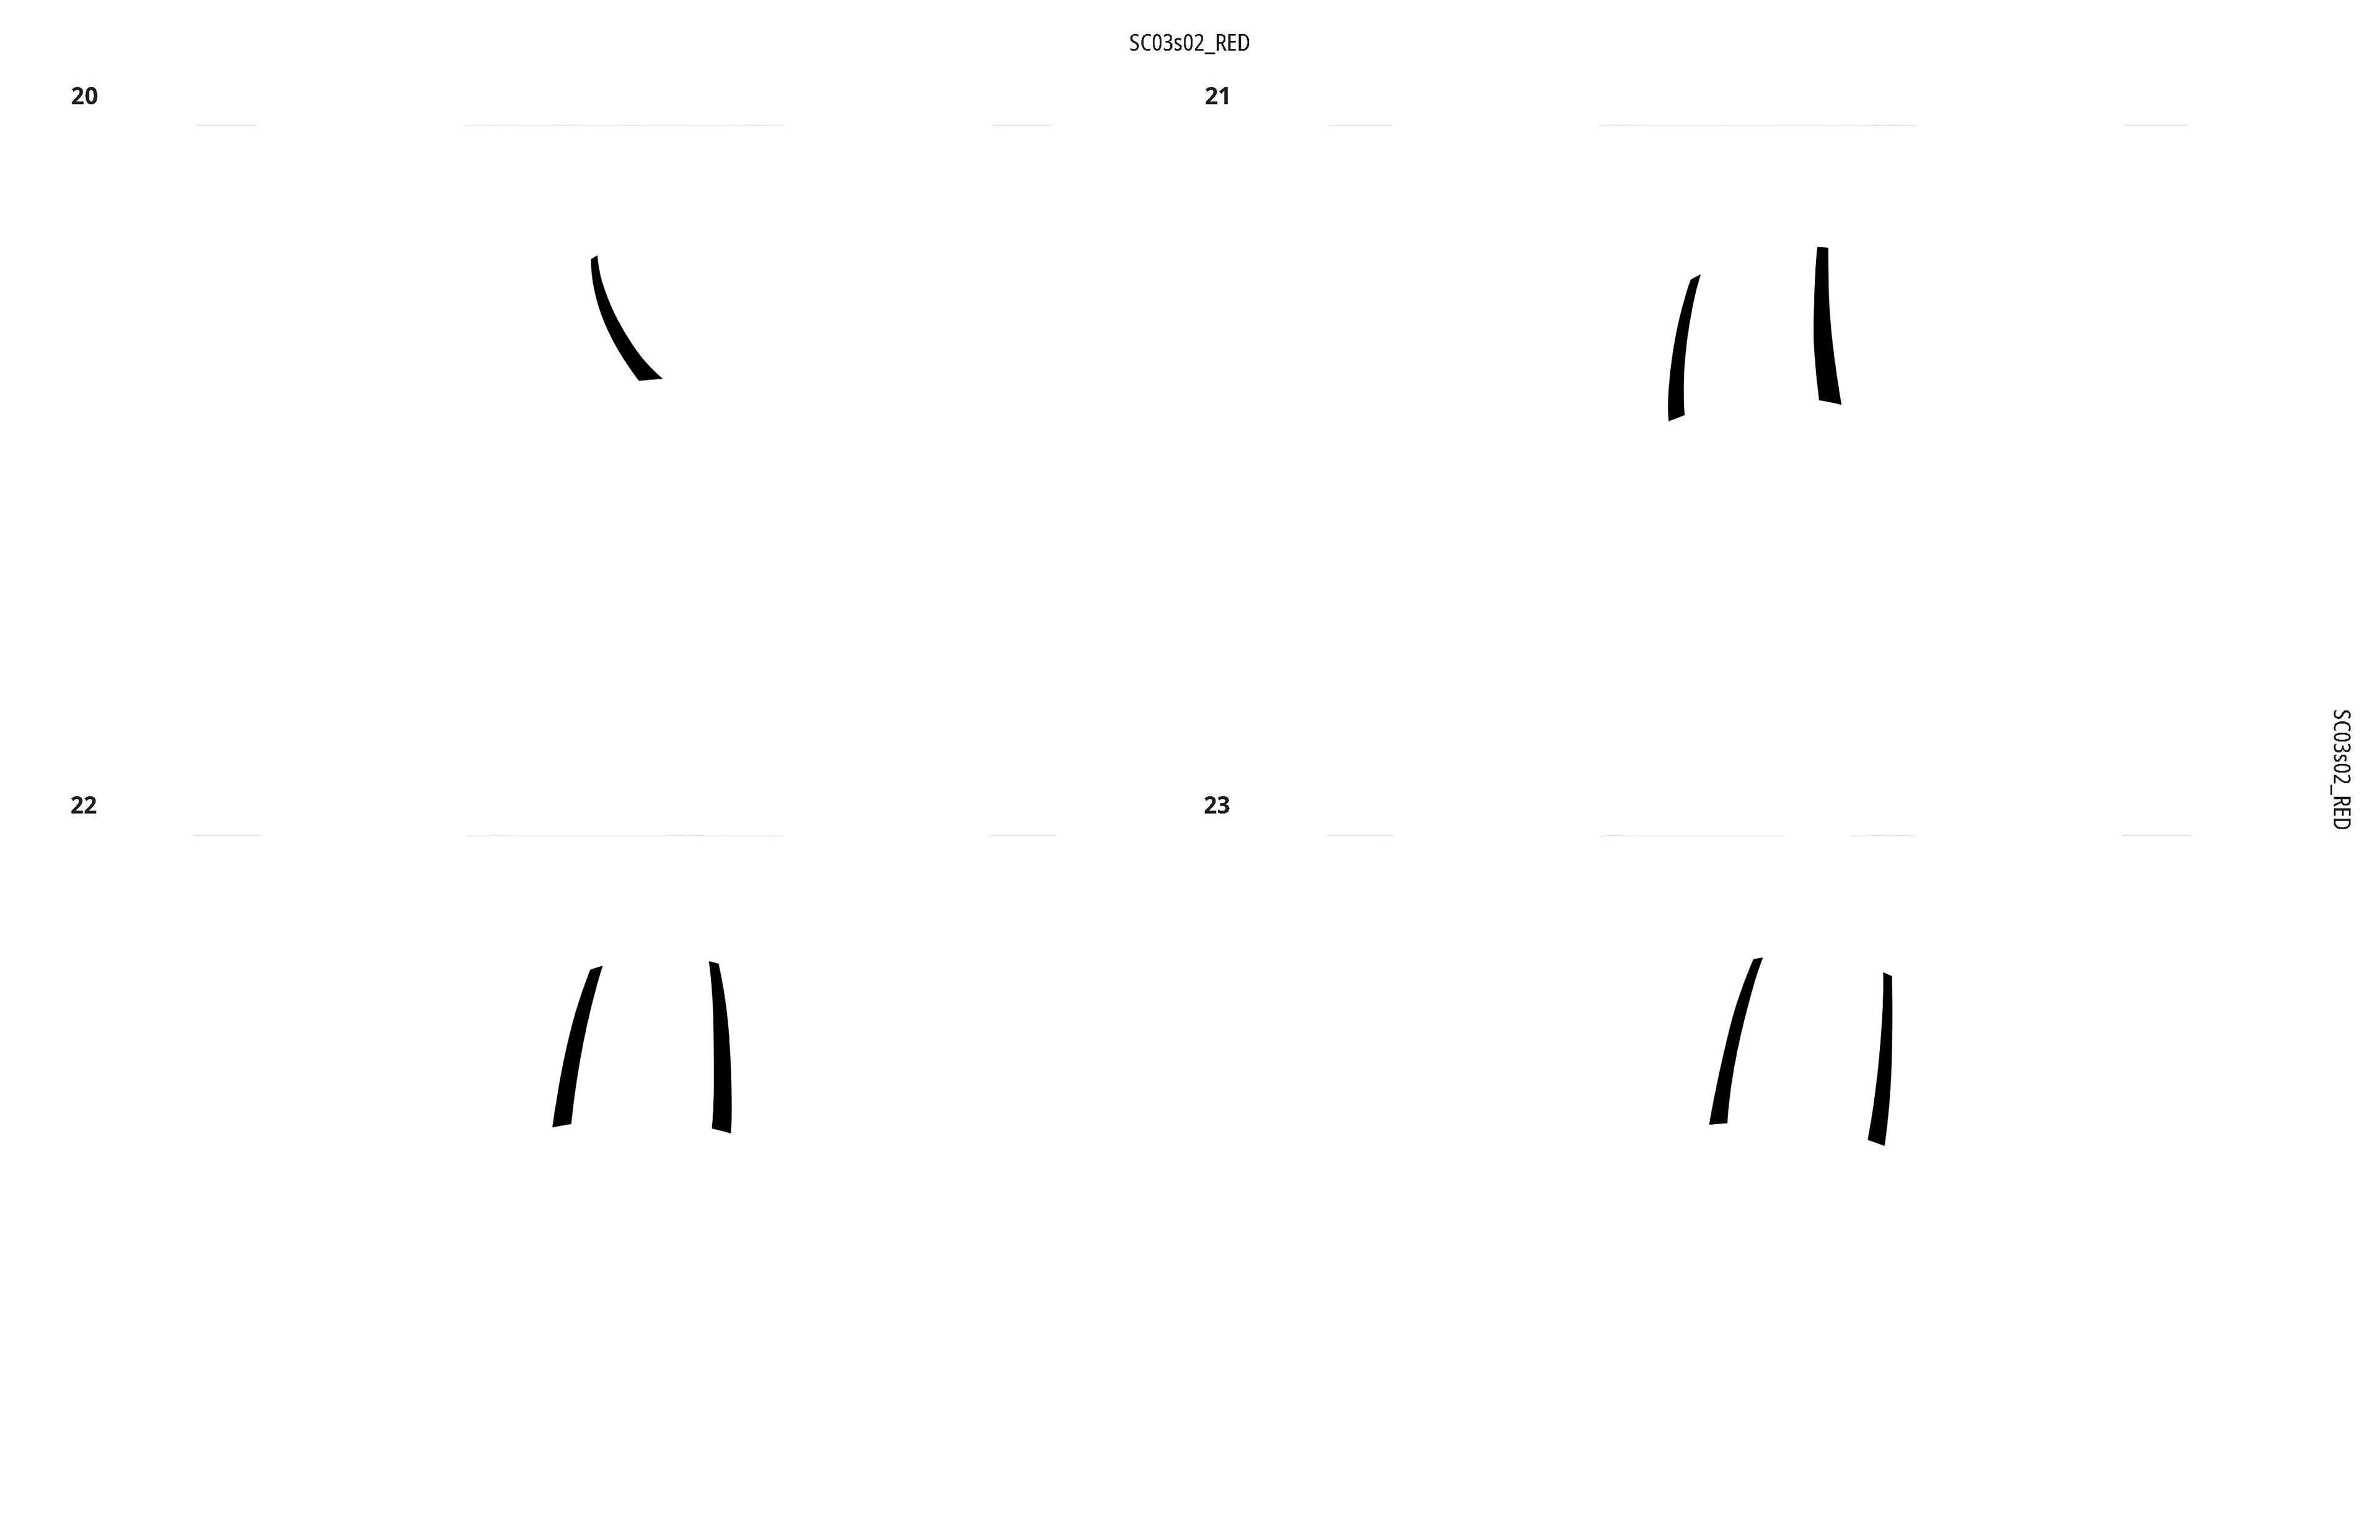
I rendered out the sequence at 12fps five times, each time isolating one color. Then laid out the frames on an InDesign template I created where I labeled the frames and what color prints they were.
The sequence I was printing out came out to be 96 + 45 + 19 = 160 frames. With 4 frames laid per page, that meant I needed to make 40 pages of riso prints. Since I was using 5 different inks, that meant I essentially needed to run all my 40 pages through the riso printer 5 times, just to get the final frames. But those who have used printed riso know you always want to make a decent number of tests per pass so that there’s room for printing errors. I printed 10-12 tests for each of the 40 pages. By the end, I easily had 500 pages of successful and failed prints.